Choose tufting frame gripper strips for reliable cloth tension, not by price or appearance. The best strip is the one that fits your frame material, holds primary tufting cloth securely, and lets you keep the fabric tight enough that the gun can move cleanly without the surface drifting or puckering.
In practice, that means checking the strip profile, fixing method, and frame size before you buy. Most beginner problems come from weak mounting, the wrong cloth, or grippers installed facing the wrong direction, so it is worth matching the strip to the frame and then following the machine or frame manual when tensioning, trimming, or re-tightening cloth.
What gripper strips actually need to do
Gripper strips hold primary tufting cloth under steady tension. They are not there to decorate the frame or make it look complete; they are there to keep the backing from slipping while you push the tufting gun through the weave. Tufting Europe describes them as angled pins that grab the cloth and keep it drum-tight, and Tuft the World advises checking and re-gripping sections that loosen during work.
The practical standard is simple: the cloth should feel firm, even, and resistant across the whole frame. If one side slips more easily than the others, the issue is usually not the gun but the grip system or how it was mounted. A good strip lets you stretch from the center outward and keep the corners from bubbling or distorting.
Beginners often expect the strip to compensate for weak cloth or a flimsy frame. It will not. If the frame flexes, or the fabric is not suitable for tufting, the grippers can only do so much before the surface starts to relax or tear.
Match the strip to your frame build
Start with how the frame is made. If you are buying a ready-made tabletop frame, use the gripper system the seller designed for that frame. If you are building your own, choose strips that can be fixed cleanly with screws, nails, or staples according to the frame material and the manufacturer’s guidance. Tufting Europe notes that its cloth grippers can be secured with screws or nails, while Tuft the World’s guidance on frame setup stresses correct strip direction and secure attachment.
Wood frames are the easiest match for common carpet-tack-style grippers. The key is the grain, thickness, and edge quality of the timber, because the strip must fasten securely without splitting the frame or lifting under tension. Thin or soft timber can work, but it needs more careful fixing and regular inspection.
For DIY frames, size matters as much as fastening. A strip that is easy to install on a small practice frame may be frustrating on a larger build if it is hard to align, hard to re-tension, or difficult to replace in sections. Choose a format you can maintain, not just one that looks sturdy on the shelf.
Choose by cloth, not by habit
Use gripper strips with primary tufting cloth, not random backing fabric. Both Tuft the World and Tufting Europe emphasize that tufting cloth is designed to stretch evenly and hold up to gun use; ordinary cloth can fray, distort, or tear under repeated passes. If the fabric is wrong, even excellent grippers will not save the setup.
The cloth must press cleanly onto the strip and stay put without excessive force. If you are having to fight every edge into place, either the cloth weave is not appropriate or the strip is not grabbing properly. That is a sign to stop and reassess before starting the rug, because looseness at the frame becomes uneven pile on the cloth.
Also check whether your cloth dimensions make sense for the frame. The frame should be a little larger than the rug you intend to make, and the strip should leave enough working margin that you can stretch, tape, and re-grip without running out of edge space.
Tension control is the real buying criterion
The best test for a gripper strip is whether it helps you keep the cloth consistently taut. Tufting Europe notes that loose cloth is one of the most common causes of an uneven first rug. Tuft the World similarly says loose backing makes tufting harder and slower, because the cloth gives instead of holding against the needle.
Look for a strip that grips across the full length, not just in isolated spots. If the hold weakens at the corners or along one long side, the cloth will drift as you work. That is especially important on larger rugs, where even a small loss of tension can affect straight lines and curved outlines.
Plan on re-checking tension during the project. A good strip makes this easy: you can press the cloth back into the pins, recover any slack sections, and keep going. If re-tensioning feels impossible, the strip is too awkward for practical tufting.
Avoid the beginner mistakes that waste cloth
The most common mistake is mounting the grippers the wrong way around. Tuft the World warns that the pins must angle away from the center of the frame so they can bite into the cloth correctly. If they face inward incorrectly, the fabric will not hold and the problem can look like a cloth issue when it is really an installation issue.
Another mistake is choosing grippers before deciding the frame size. The frame sets the maximum rug size you can work on in one piece, so a strip should be part of the frame plan, not an afterthought. If you want to make larger rugs later, it is often smarter to build or buy a frame that can accept a reliable gripper run from the start.
Do not rely on grippers to fix weak setup habits. Keep the frame rigid, mount the cloth evenly, and protect the edges from snagging with tape or foam where needed. If the strip is doing all the work because the rest of the frame is sloppy, the result will still be inconsistent.
When to consult the machine or frame manual
Check the manual whenever your gripper strips interact with a specific frame system, not just a generic DIY build. This matters if the frame has preinstalled tack strips, a special edge profile, or an assembly order that determines which way the pins should face. Manufacturer setup pages can also specify how tight the cloth should feel and when to re-grip it during work.
Consult the manual before forcing a fit. If the strip seems too aggressive for the cloth, if the fabric tears near the edge, or if the frame will not hold tension evenly after reassembly, the problem may be installation rather than the strip itself. Following the stated setup order is safer than trying to improvise a fix.
That caution also applies if you are using a machine or frame from a seller that documents its own compatible cloth and setup method. Use the seller’s instructions first, then choose grippers that support that setup instead of trying to adapt the frame to an unrelated method.
Step-by-step instructions
Step 1: Check frame material and size
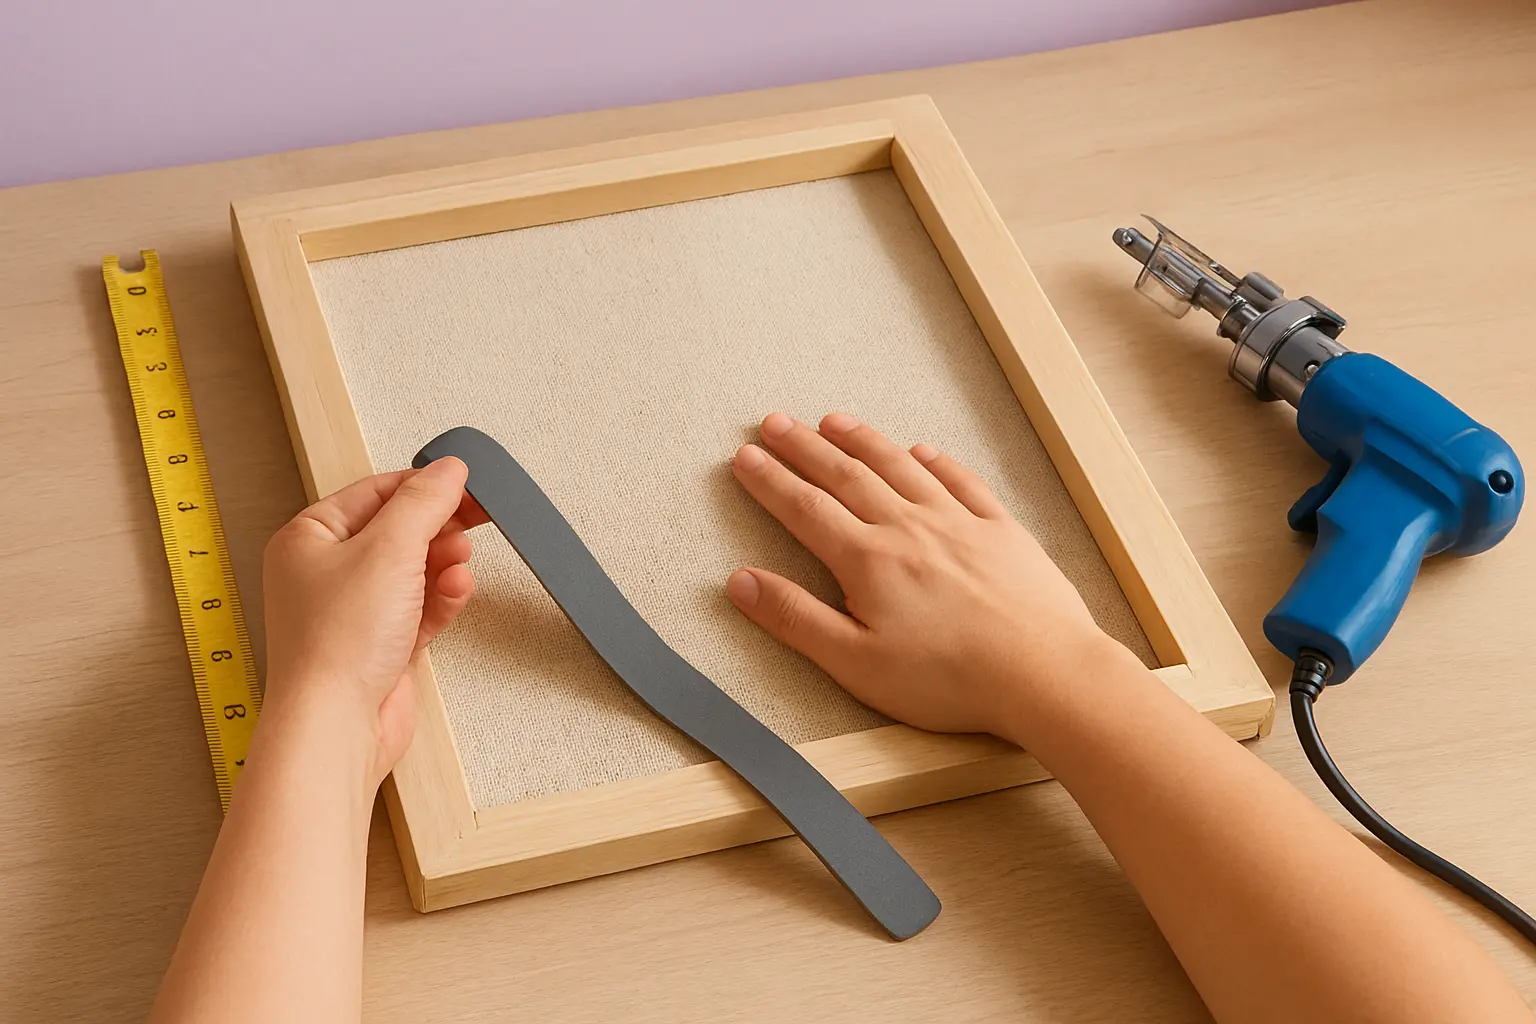
Measure the frame and identify the material before buying strips. Confirm that the strip can be fastened securely to the edge without splitting the wood or interfering with the working area, and leave enough room for the cloth to wrap and re-tension cleanly.
Step 2: Choose the cloth first
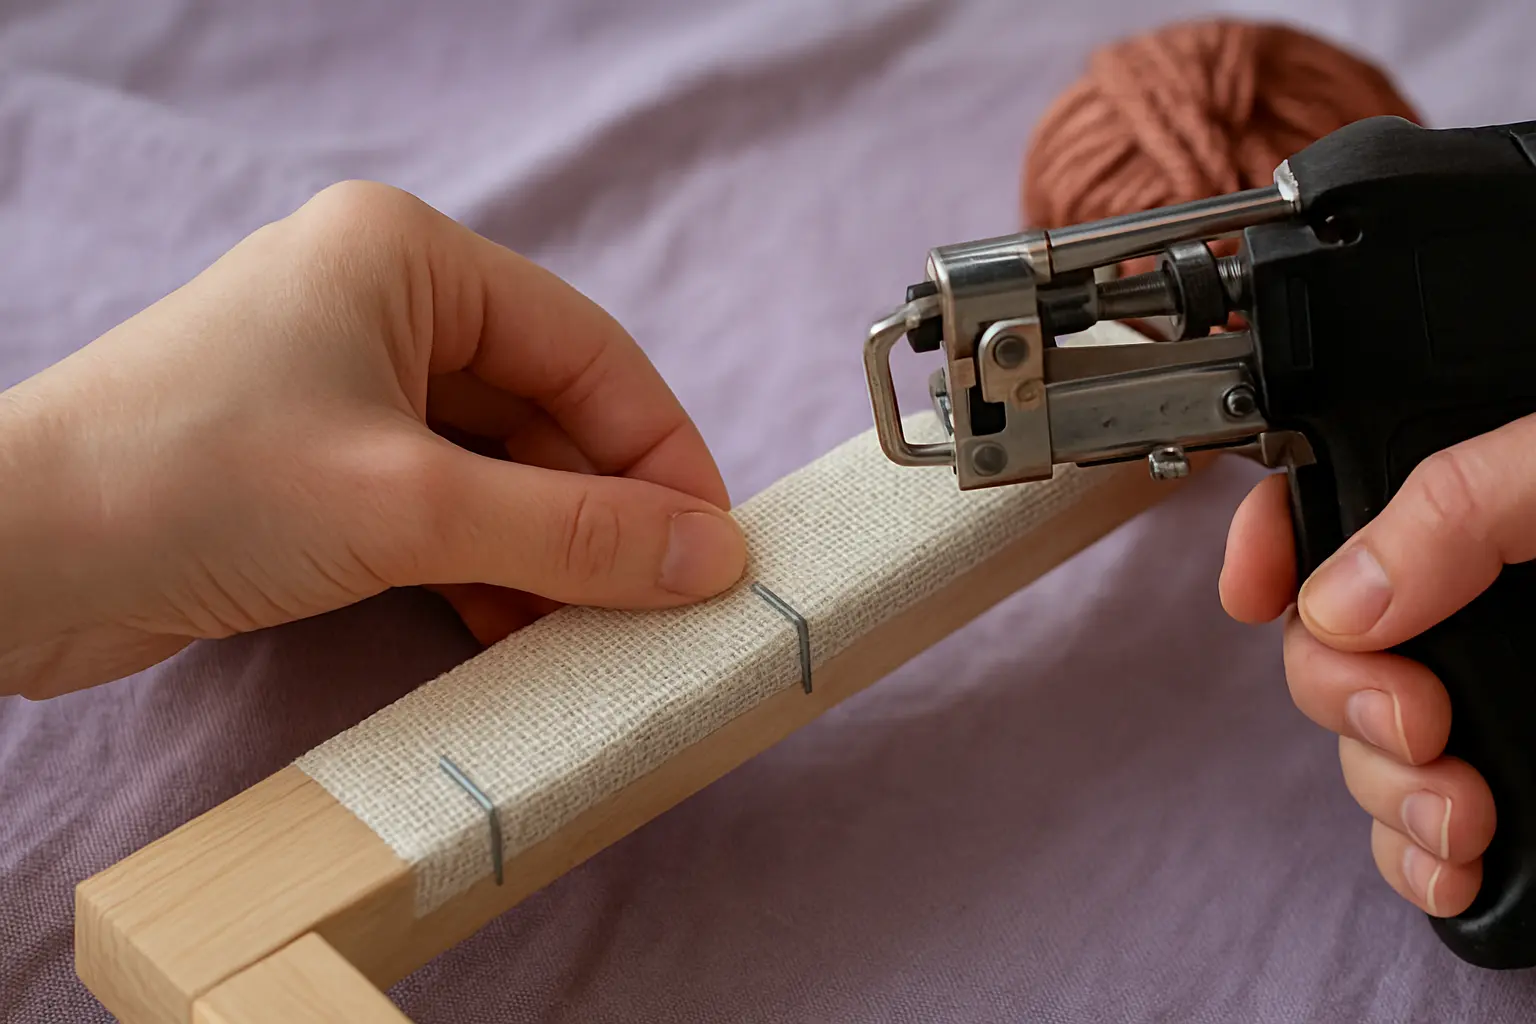
Match the strip to primary tufting cloth, not to a random backing fabric. If your cloth is intended for tufting, it should stretch evenly and grip without heavy force; if it frays or slides, change the cloth before blaming the strip.
Step 3: Mount strips in the correct direction

Install each strip so the pins angle away from the frame center, then check that the entire perimeter grips evenly. If a side slips or the cloth will not hold, stop and recheck the strip orientation rather than pulling harder on the fabric.
Step 4: Test tension before tufting
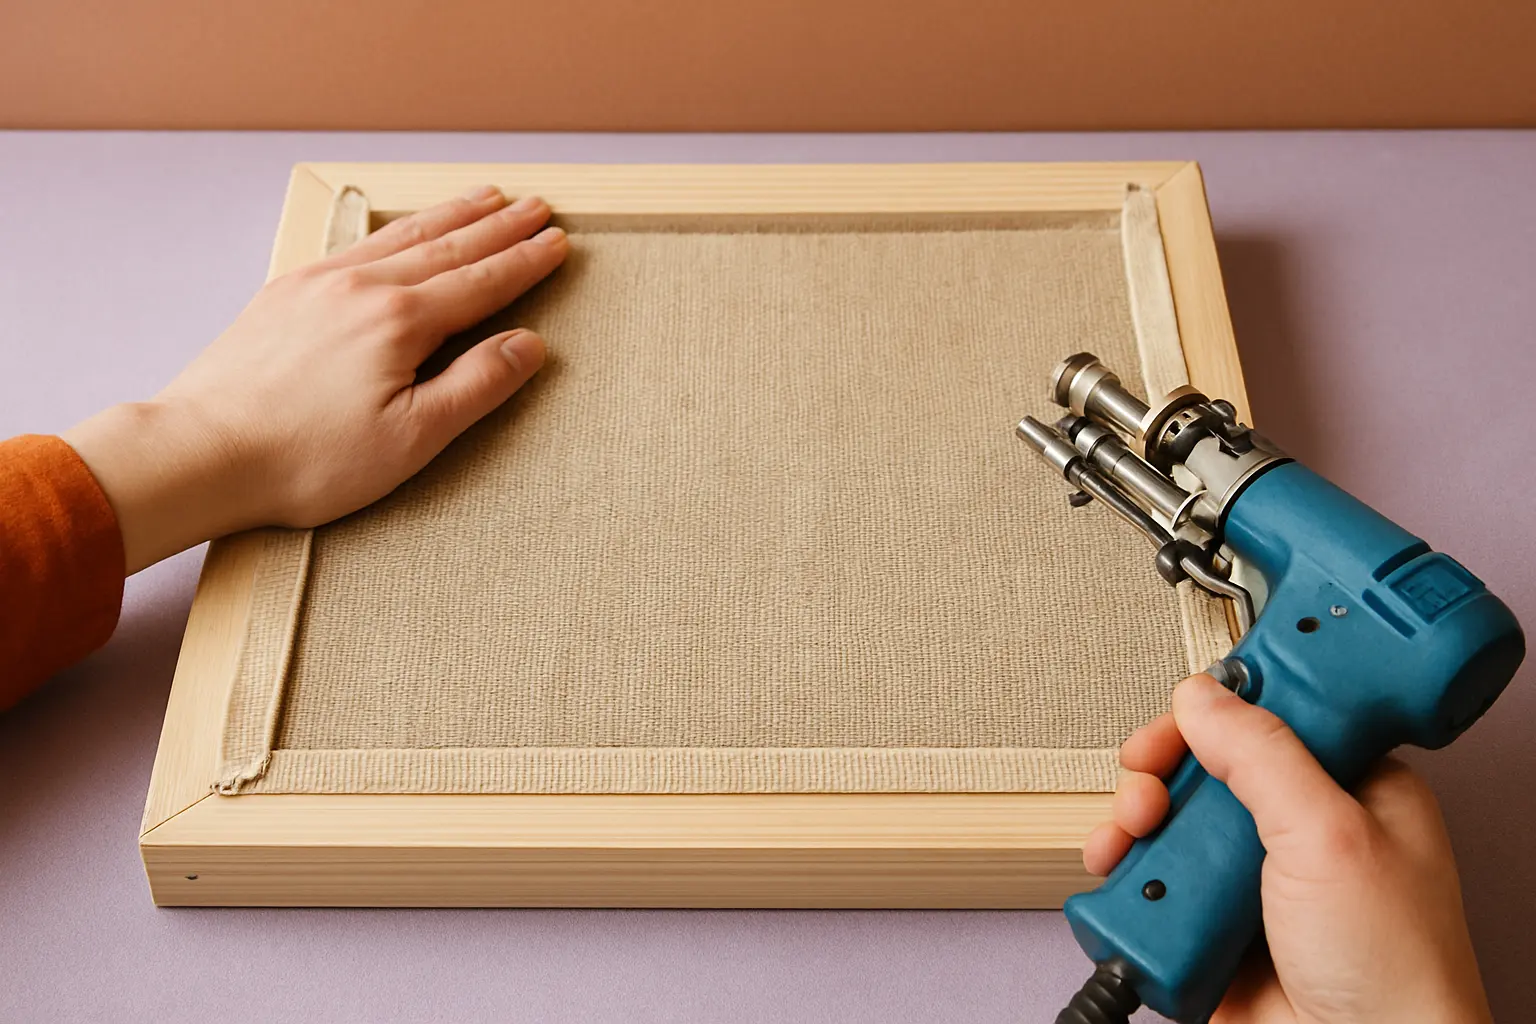
Press the cloth down across the full surface and look for a firm, even response with no sagging corners. If the cloth feels loose or distorted, re-seat it on the grippers until the surface is uniformly taut.
References and further reading
- How do I set up my tufting frame and mount my cloth? tufttheworld.com
- Tufting Frame & Cloth Grippers – Tufting Europe tuftingeurope.com
- Tufting for Beginners (2026): Everything You Need to Get Started tuftingeurope.com
- How to Start Rug Tufting: A Beginner’s Guide to Creating Your First Rug tufttheworld.com
- A guide to a tufting set up tuftingshop.com