A jammed tufting gun usually means the yarn is not feeding cleanly through the needle path, or the cutting and loop mechanism is no longer timed correctly. Start by matching yarn thickness to the needle opening, keeping the backing cloth taut, and checking that the foot, scissors, and pile-height setting still agree with the machine’s manual.
Different tufting guns solve the same problem in different ways. An AK-I, AK-II, DUO, AK-V, or ZQ-II can all bind if the yarn path is overloaded or the mechanism drifts out of adjustment, so the practical fix is always model-specific: clear the feed path, confirm the correct pile setting, and use the manufacturer’s own maintenance and safety instructions before changing anything else.
What a jam actually means
A true jam is not just a skipped stitch. It is the point where yarn stops advancing smoothly, the needle struggles to pass material, or the scissors fail to cut or release cleanly. On cut-pile machines, that often shows up as fuzzing, clumping, or a strand caught in the head; on loop-pile machines, it may look like loops becoming uneven or the yarn snagging in the needle eye.
The important distinction is between a feed problem and a timing problem. If the yarn will not move freely, the cause is usually supply, tension, or yarn size. If the yarn reaches the head but the pile is inconsistent, the machine may need a pile-height or scissor-position check according to the model manual.
Yarn choice and feed compatibility
Many beginner jams start with yarn that is too thick, too fluffy, or too inconsistent for the needle opening. Tufting-specific yarn is designed to feed more predictably, while very bulky yarns can slow the path and create drag at the eye of the needle. When a machine manual mentions yarn thickness or needle-hole size, treat that as a hard compatibility limit, not a suggestion.
Use one yarn type and one cone or ball at a time while troubleshooting. Mixed fibres, knotty joins, and badly wound skeins create sudden resistance, which can feel like a machine fault even when the problem is the feed source. If yarn arrives unevenly, fix that first before touching the gun’s adjustments.
Cloth tension and frame setup
Loose foundation cloth is one of the easiest ways to create feed trouble because the gun has to push into a moving surface. The cloth should be stretched firmly enough that the foot glides consistently and the backing does not bunch under pressure. If the cloth sags, the needle path changes from stitch to stitch and yarn delivery becomes unreliable.
Frame size matters too. A small, sturdy frame can make learning easier because the cloth stays evenly tensioned while you practice. If you are fighting repeated snags, stop and inspect the frame before assuming the gun is at fault; weak tension often mimics a bad mechanism.
Needle, scissors, and pile-height settings
For cut-pile guns, the needle and scissors must stay correctly aligned with the pile-height setting. Tuftingshop’s AK-I manual shows that the pile height is set by adjusting the arm lengths and foot position together, not by making one loose change in isolation. That same logic applies across many AK-style machines: if the cut timing and foot position drift apart, yarn can snag, fuzz, or fail to cut cleanly.
The ZQ-II manual is even more explicit about checking the mechanism with the power disconnected, confirming open-and-close action, and keeping the needle and scissors sharp and properly set. If cutting quality drops suddenly, do not keep running the machine harder; inspect timing, edge sharpness, and the scissor opening point first, then return to the manual’s adjustment sequence.
Lubrication, wear, and maintenance habits
Friction is a quiet cause of jams. Manufacturer guidance for the ZQ-II calls for oiling moving parts and keeping the machine clean, and that advice reflects a broader tufting rule: dried lint, dust, and old lubricant all make feed problems worse. A machine that starts smoothly one day and drags the next often needs cleaning before it needs repair.
Watch for wear at the needle hole, the foot, and any point where yarn rubs against metal. If the yarn starts breaking or looking abraded, the problem may be a rough edge rather than the yarn itself. Light maintenance can solve this, but damaged parts, bent components, or persistent misalignment are signs to consult the manual or seller support rather than improvising a fix.
Troubleshooting by symptom
If the yarn will not advance at all, check the cone orientation, the feed path, and whether the yarn is catching before it reaches the gun. If stitches form but the pile looks uneven, compare your current setting with the model’s recommended pile height and foot position. If cut-pile yarn frays while loop pile seems acceptable, the scissor timing or needle sharpness is usually the first place to look.
When the problem appears only after a short run, heat, lint buildup, or gradual loosening of a setting is often the cause. Stop, clear the path, and verify the machine by hand when the manual calls for it. Repeated forcing is the mistake that turns a minor jam into a repair.
When to stop and consult the manual
Use the machine manual whenever the gun needs adjustment beyond basic cleaning and feed checks. This matters most if you are changing pile height, switching between cut and loop modes, or working with a model that has model-specific arm, foot, or scissor settings. The manuals for AK and ZQ families do not treat these as interchangeable details.
Also consult the manual if the gun makes new noises, loses cutting performance, or jams in the same place after you have checked yarn, cloth tension, and lubrication. That pattern usually points to a real adjustment issue, not a user error. For a beginner, the safest and fastest repair is often to stop, document the symptom, and return to the manufacturer’s setup sequence.
Step-by-step instructions
Step 1: Match yarn to the feed path

Choose a yarn that feeds smoothly through the needle and avoid switching between bulky or fuzzy fibres while troubleshooting. If the yarn hesitates before the head, replace the cone or wind a cleaner supply before changing the machine settings.
Step 2: Check cloth tension before the gun
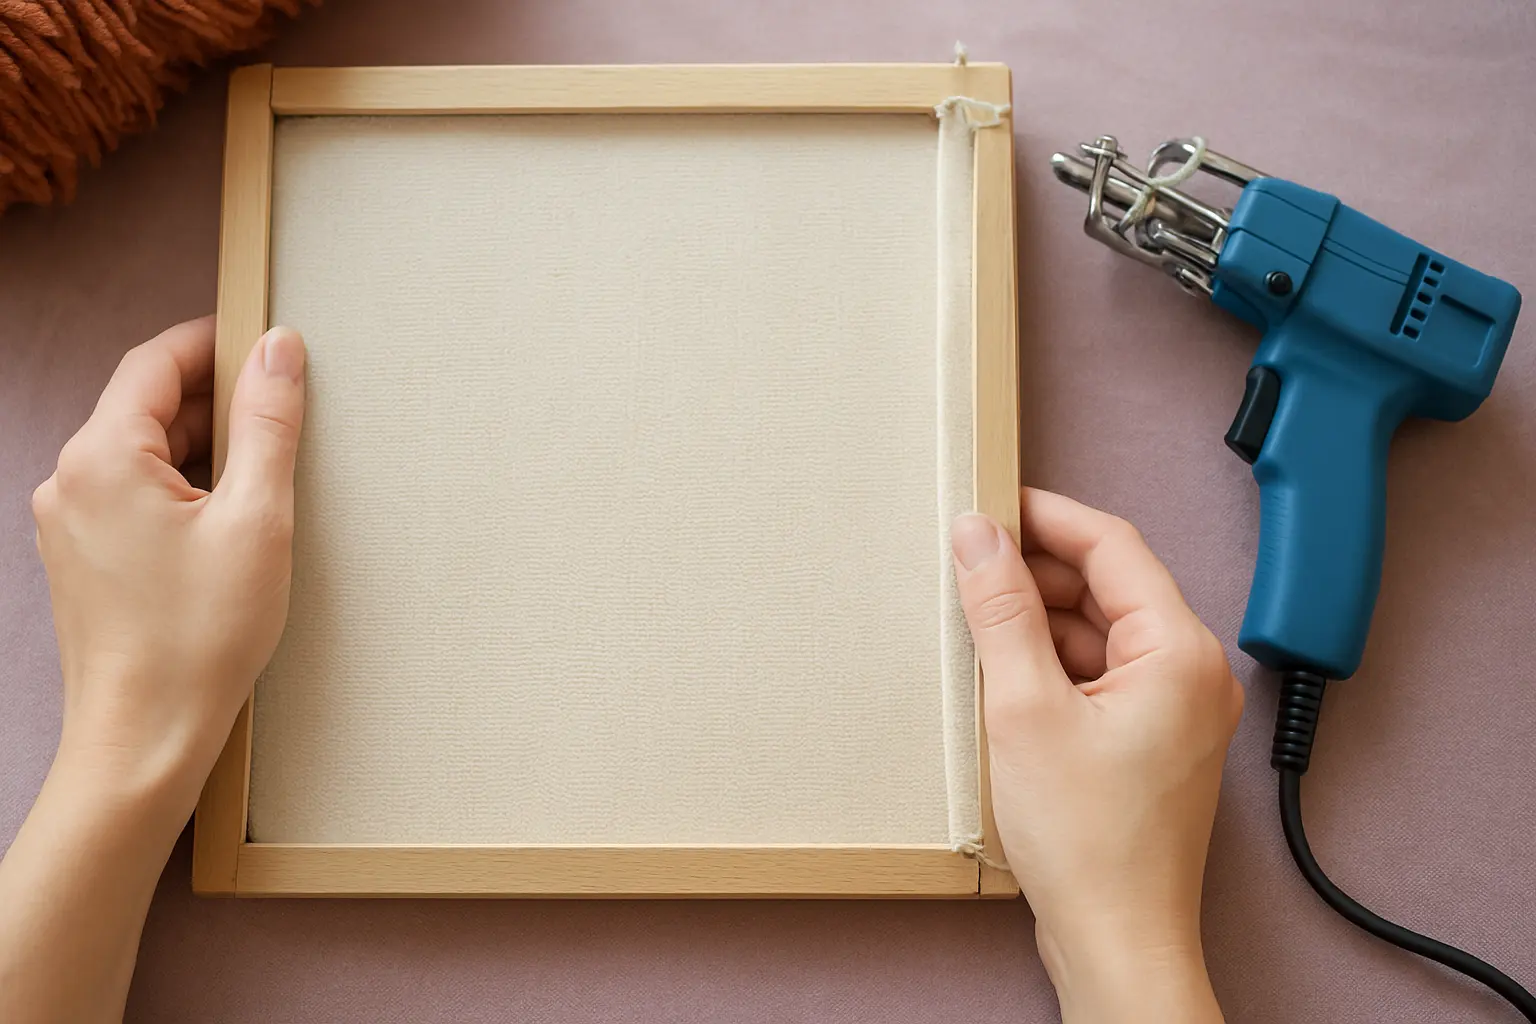
Pull the backing cloth tight on the frame so it stays flat under the foot and does not ripple as you move the gun. If the cloth sags or shifts, tighten the frame first, because a loose surface often looks like a feed problem.
Step 3: Clear lint and inspect the moving parts

Unplug the machine before inspecting it, then remove lint and yarn fragments from the head, needle area, and feed path. Look for rough edges, bent parts, or dried residue that could slow the yarn or disrupt cutting.
Step 4: Return settings to the manual sequence
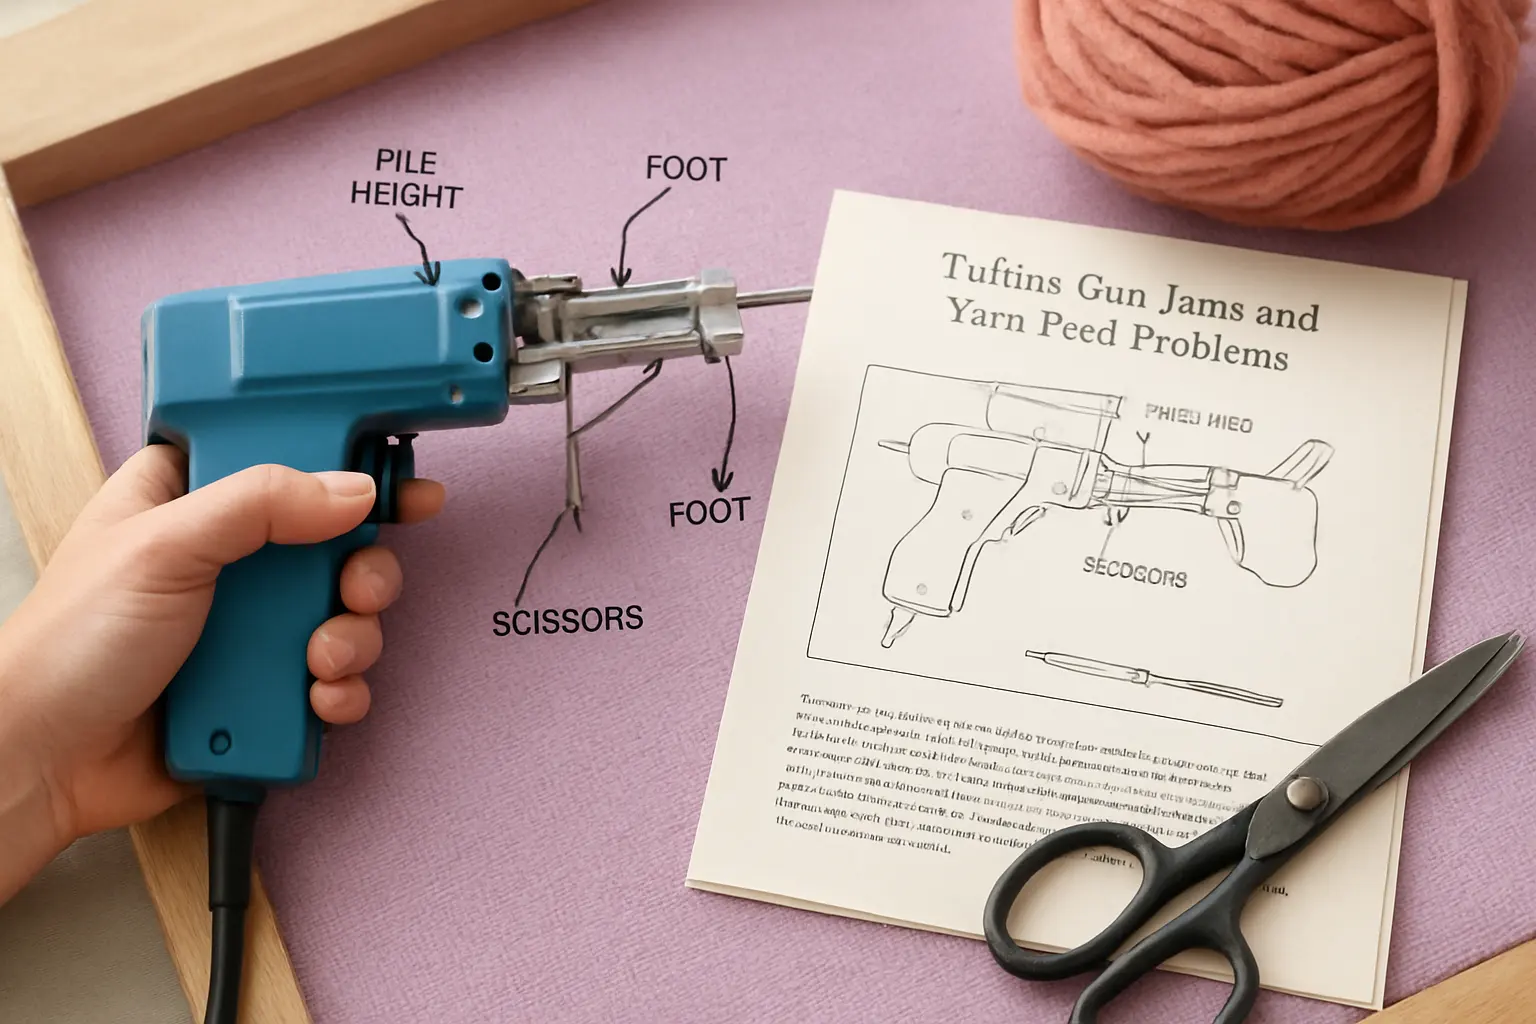
If the machine keeps jamming after cleaning, reset the pile height, foot position, and scissor timing using the manufacturer’s instructions for your exact model. Do not guess across different machine families, because AK and ZQ adjustments are not identical.
Step 5: Stop when the fault repeats

If the same jam returns in the same place after basic checks, stop using the gun and consult the model manual or seller support. Repeated forcing can damage the yarn path, blunt the scissors, or throw the timing further out of alignment.
References and further reading
- Manual AK I – Tuftingshop tuftingshop.com
- Manuals – Tuftingshop tuftingshop.com
- Manual for the ZQ-II tufting gun – Tuftingshop tuftingshop.com
- Tufting Machine Comparison — AK5 vs. The Duo vs. AK-III – Tuft the World uk.tufttheworld.com