Start with a small, simple rug rather than an intricate design. You will learn more from a clean 50–70 cm practice piece than from struggling to fill a giant frame. The sequence below describes a common electric-gun process; always defer to your exact machine and adhesive instructions.
Before starting, wear suitable eye protection, secure loose clothing and hair, keep hands away from the moving needle and cutting parts, and keep the work area well ventilated when applying products.
Step 1: Plan a manageable motif
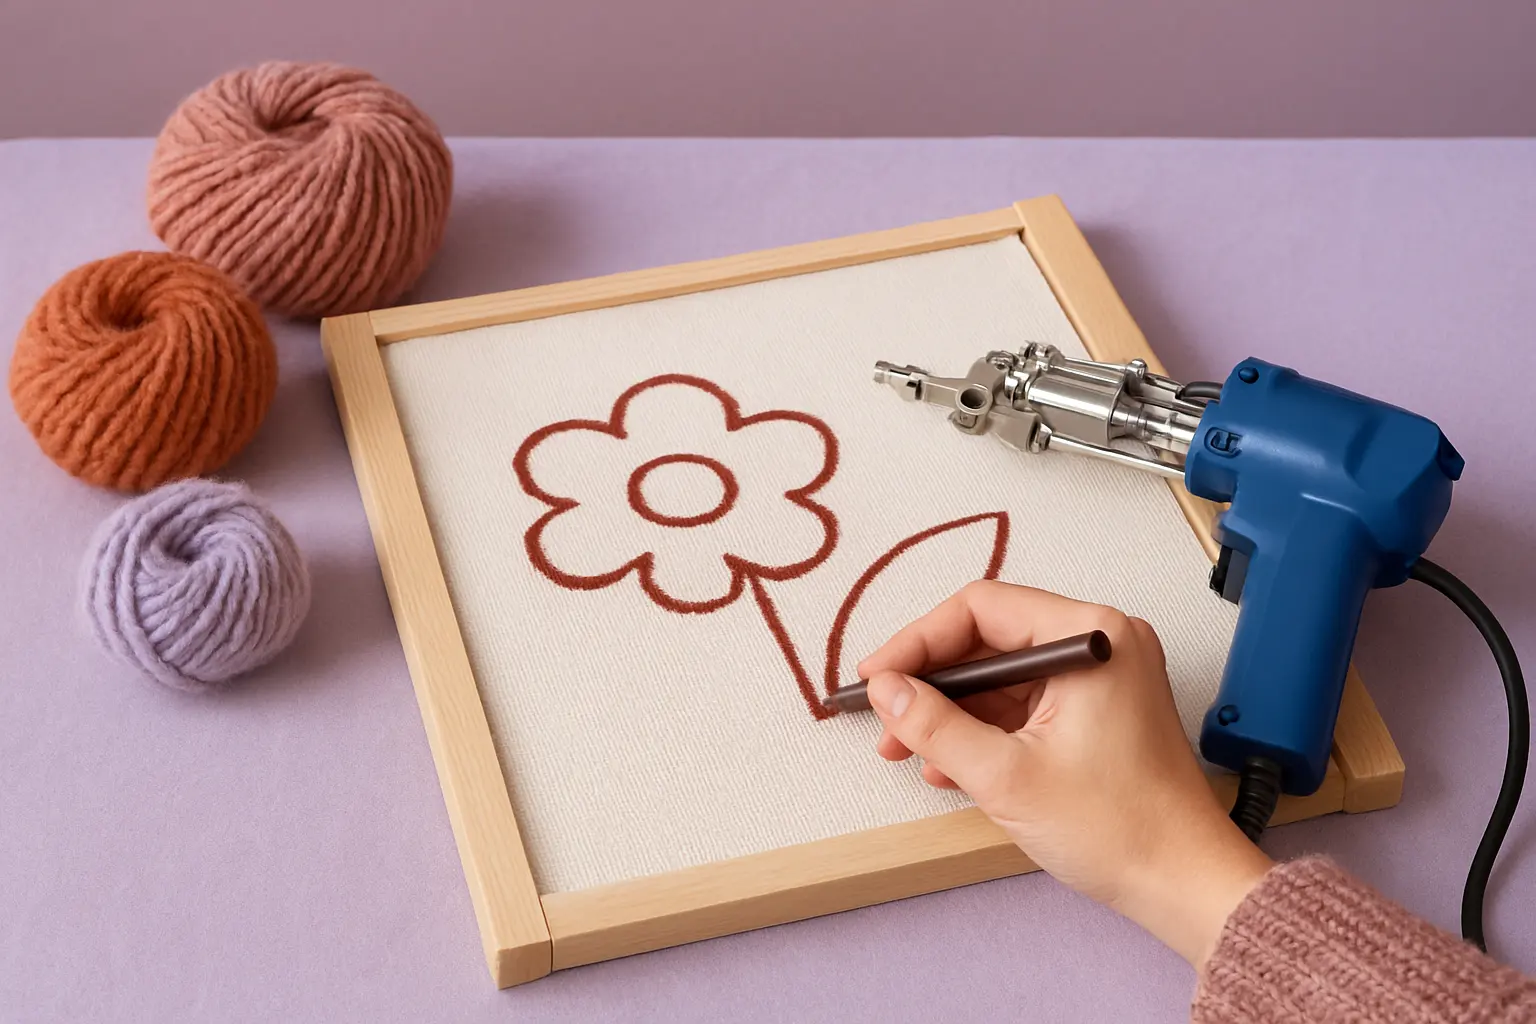
Pick two or three colors and thick outlines rather than tiny lettering. Sketch the finished shape and reverse any writing if you will tuft from the back.
Step 2: Mount and tension the primary cloth
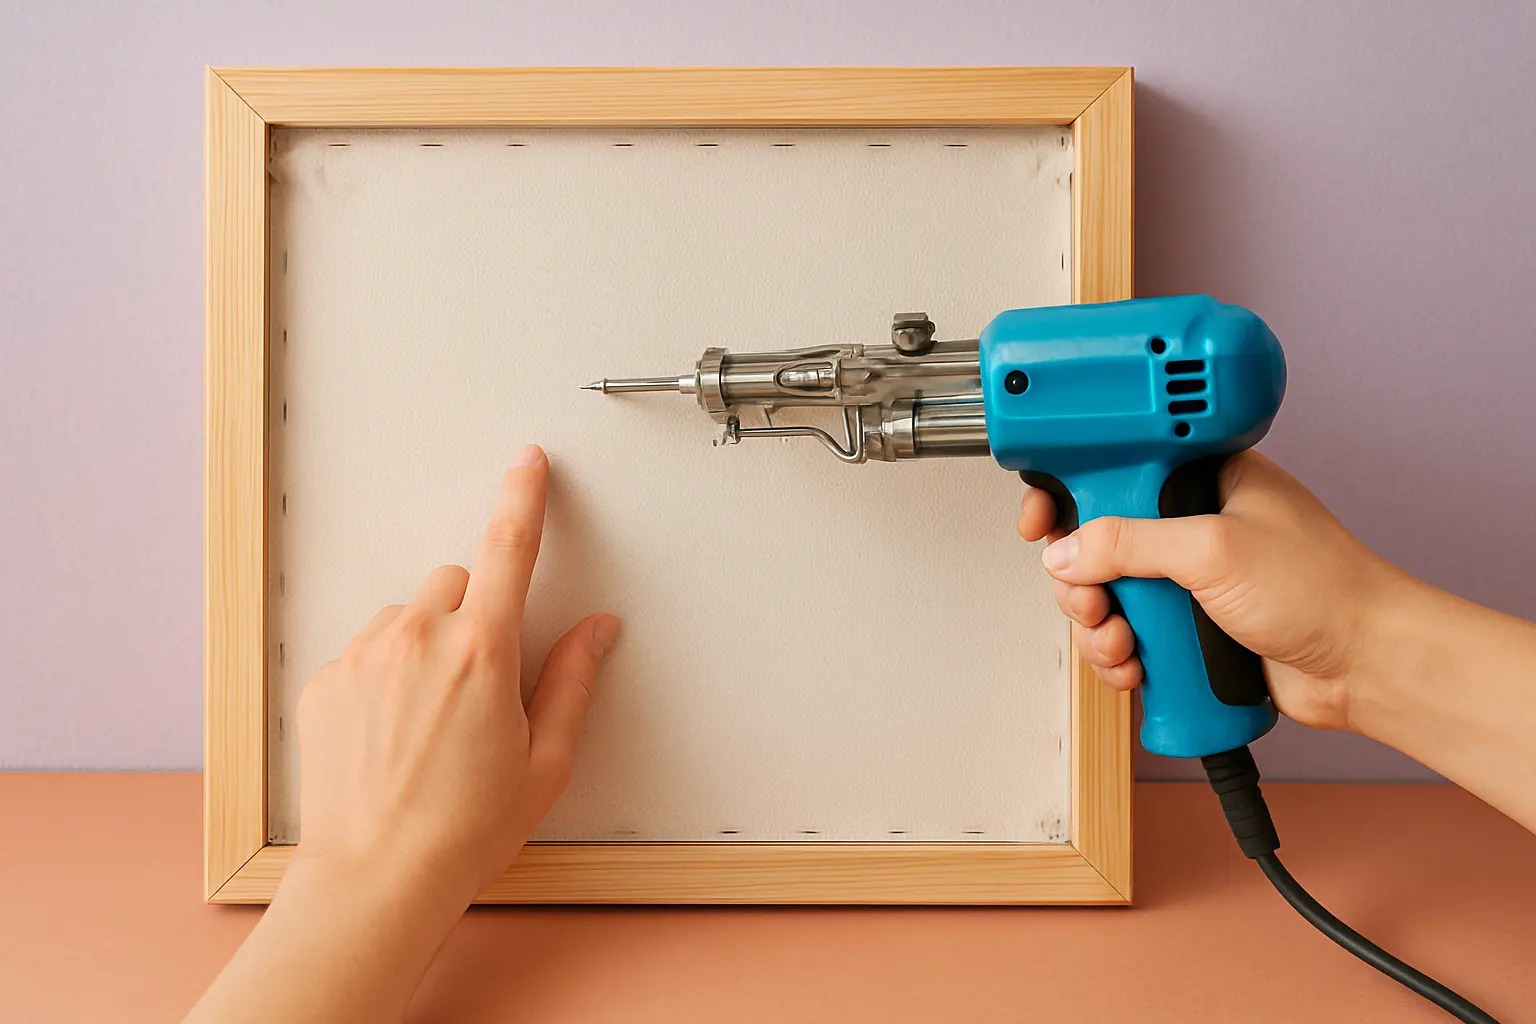
Stretch a tufting-specific cloth evenly across a stable frame with the grippers oriented correctly. The surface should resist gentle fingertip pressure without sagging.
Step 3: Thread and test the gun
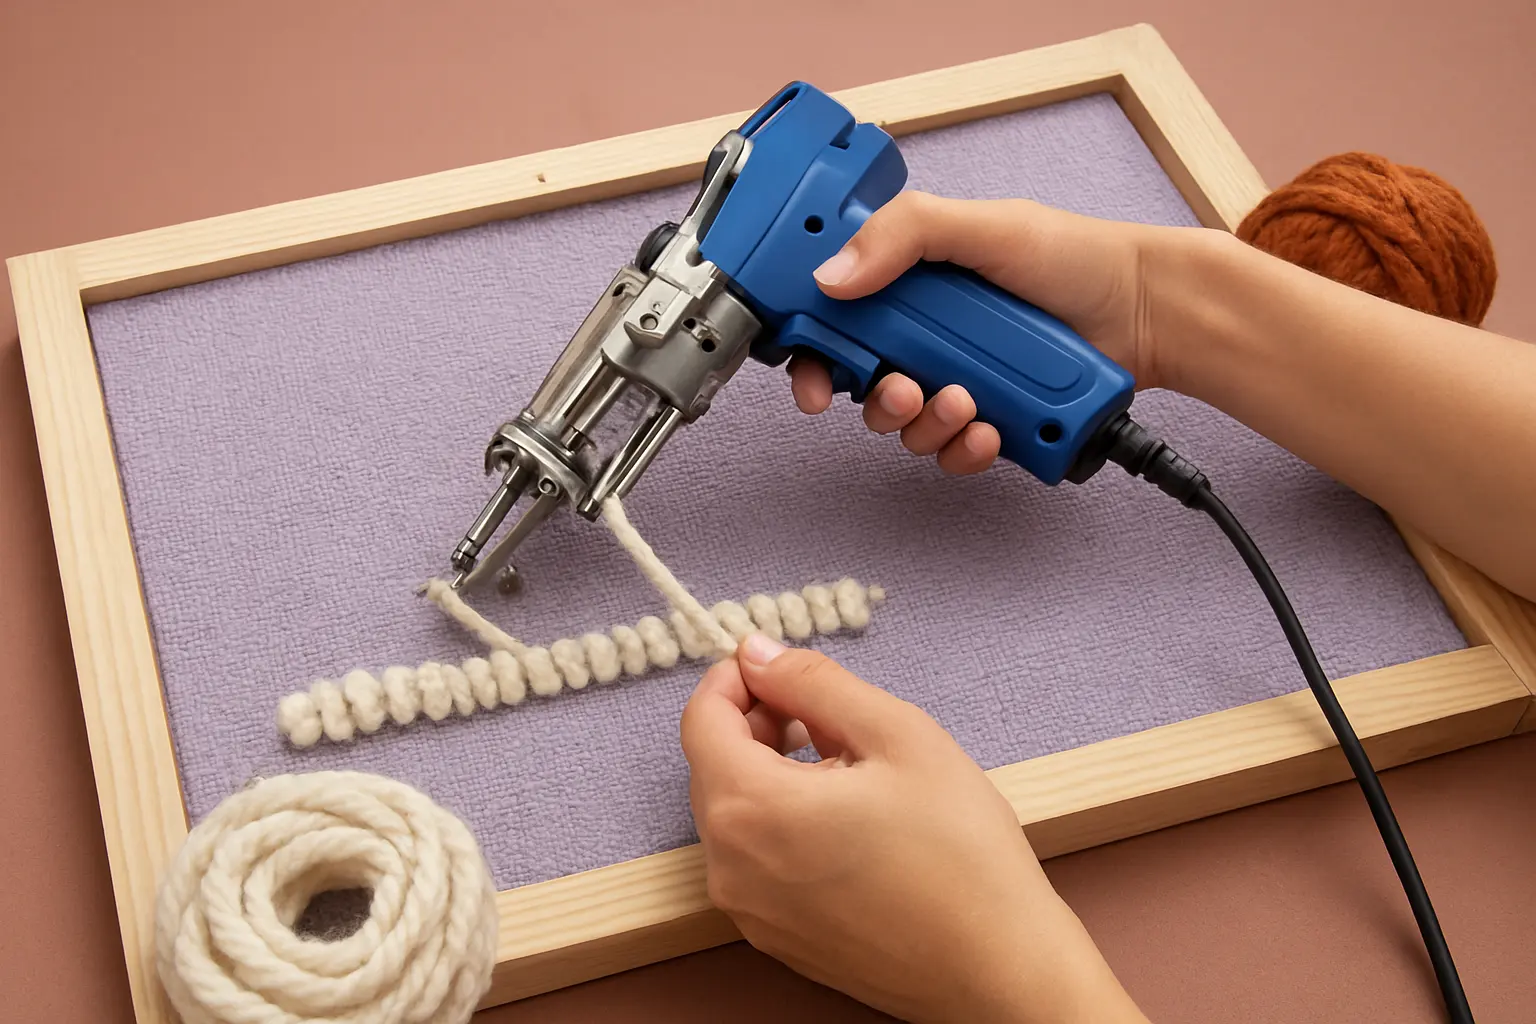
With power disconnected, follow your model manual for threading. Plug in only after checking the workspace, then practice short, controlled rows on a spare section of cloth.
Step 4: Fill the design in orderly rows
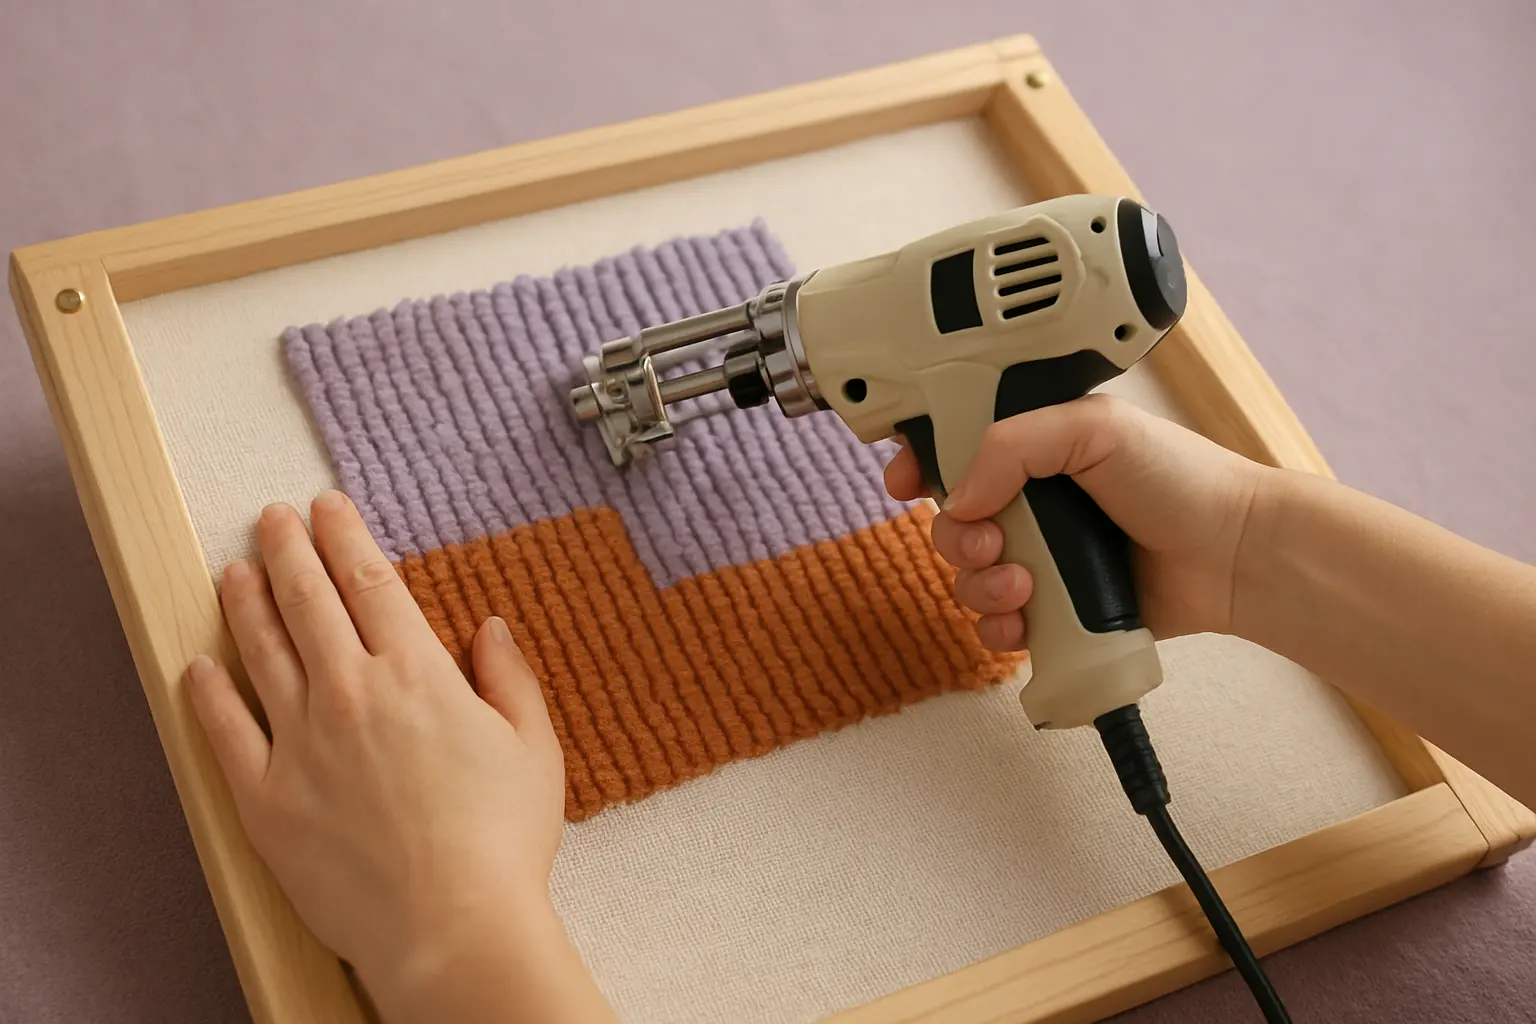
Keep the machine base flat against the cloth and work in the manufacturer-recommended direction. Space rows consistently and pause when the cloth begins to distort.
Step 5: Secure the tufts with suitable backing adhesive
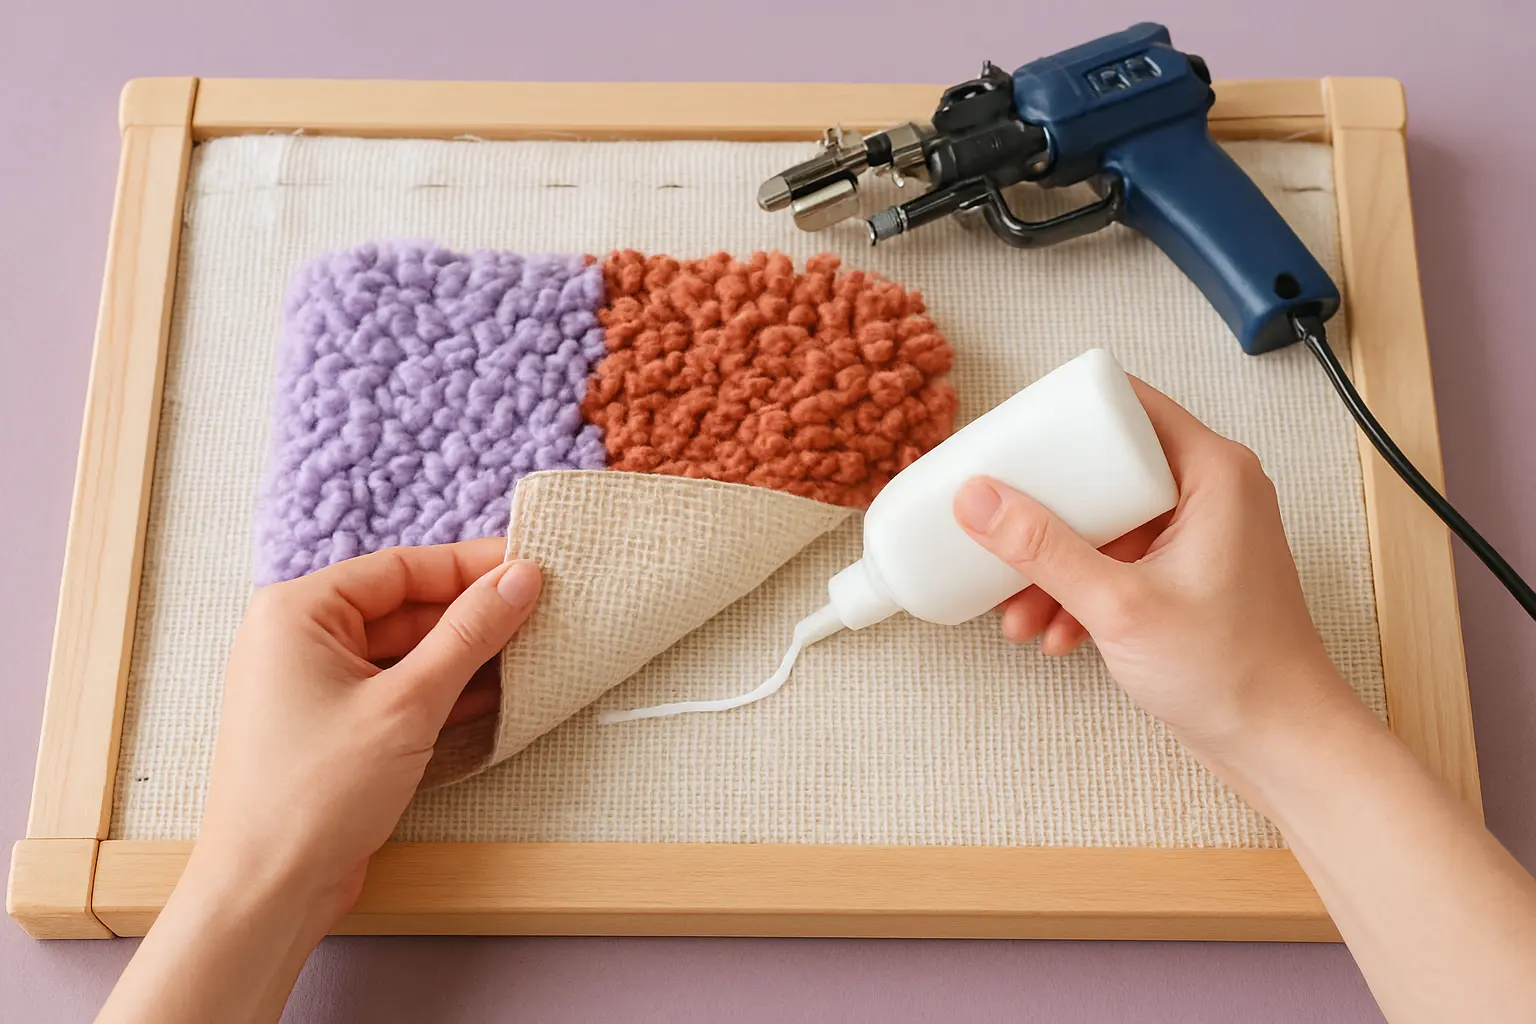
Stop tufting, inspect the back, and apply an appropriate adhesive following the product’s ventilation, coverage and drying guidance. Let it cure fully before removing the rug.
Step 6: Add secondary backing and tidy the pile
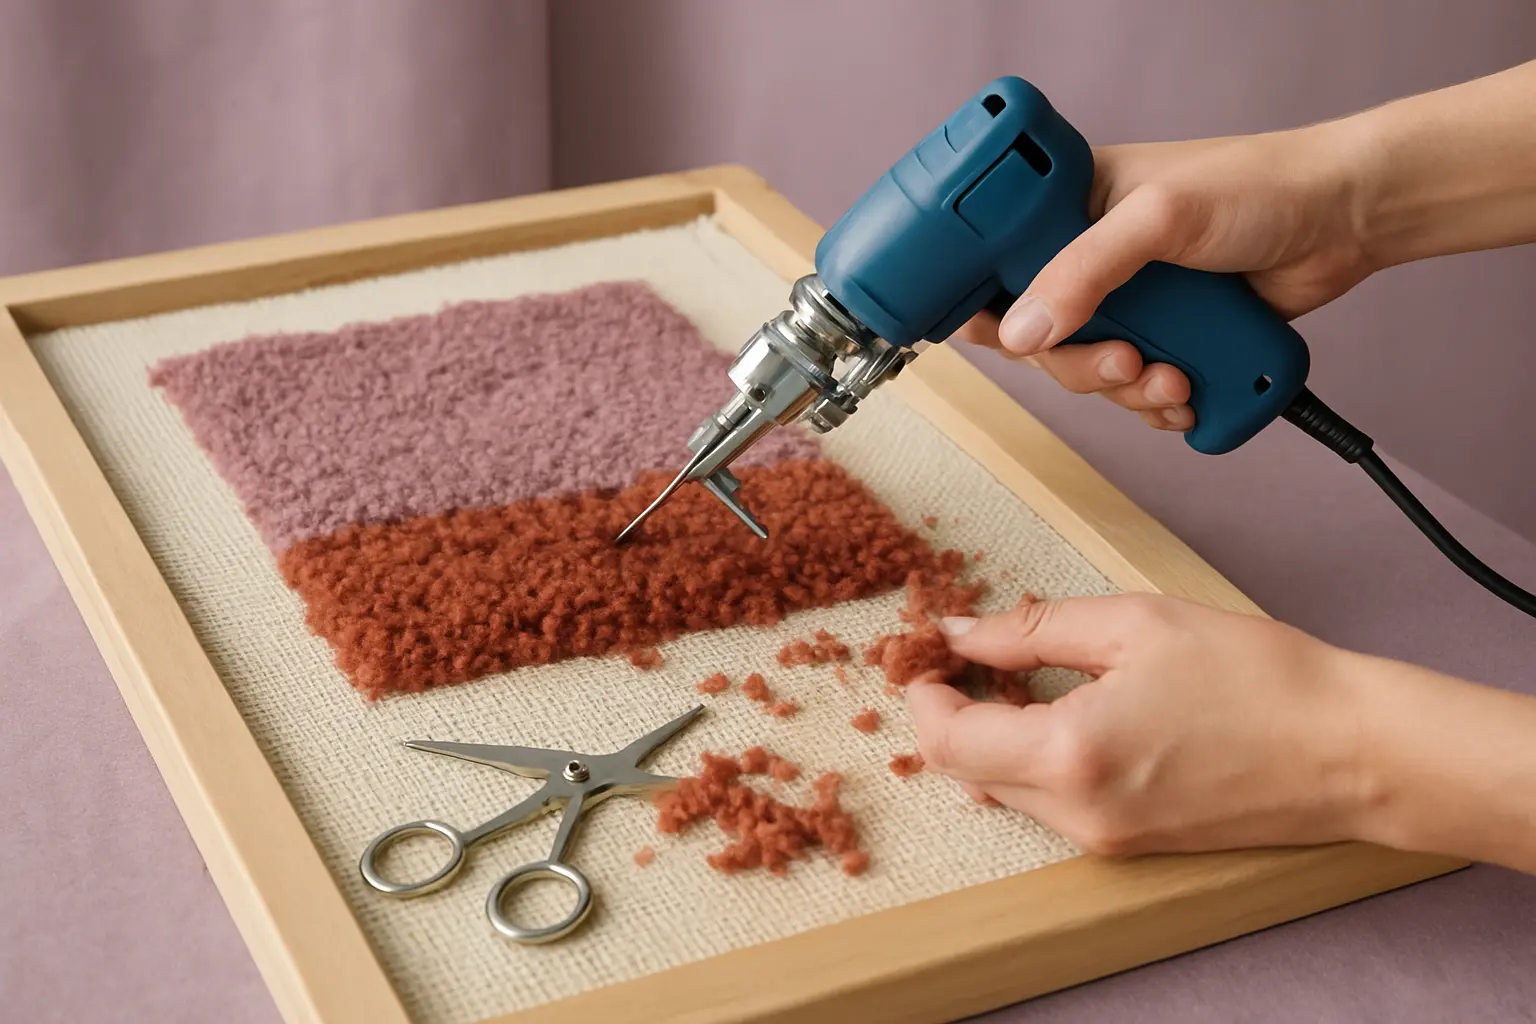
Trim the perimeter, attach any required secondary backing and carefully remove stray fibers. If sculpting cut pile, shave gradually rather than cutting large amounts at once.
What to buy for a first rug
Compare the specifications and limitations of each option, or check current Amazon listings. Amazon searches may include different models.
Tufting Europe 90 × 90 cm Tabletop Frame
A stable first workstation for smaller pieces
Tuft the World White Primary Tufting Cloth
A woven primary cloth compatible with rug tufting
Follow the more detailed finishing guide before applying any adhesive. The procedure, especially drying, differs by backing product.