Skip to content
INDEPENDENT RUG TUFTING GUIDE

How to Thread a Tufting Gun Without Tangling Yarn

Set up a smooth yarn feed and avoid common beginner mistakes.

Thread paths differ between models. Treat the precise needle and guide routing diagram in your manufacturer’s manual as authoritative, especially for machines that switch between cut and loop. This overview covers the general checking procedure, not a substitute for that diagram.

Step 1: Disconnect power
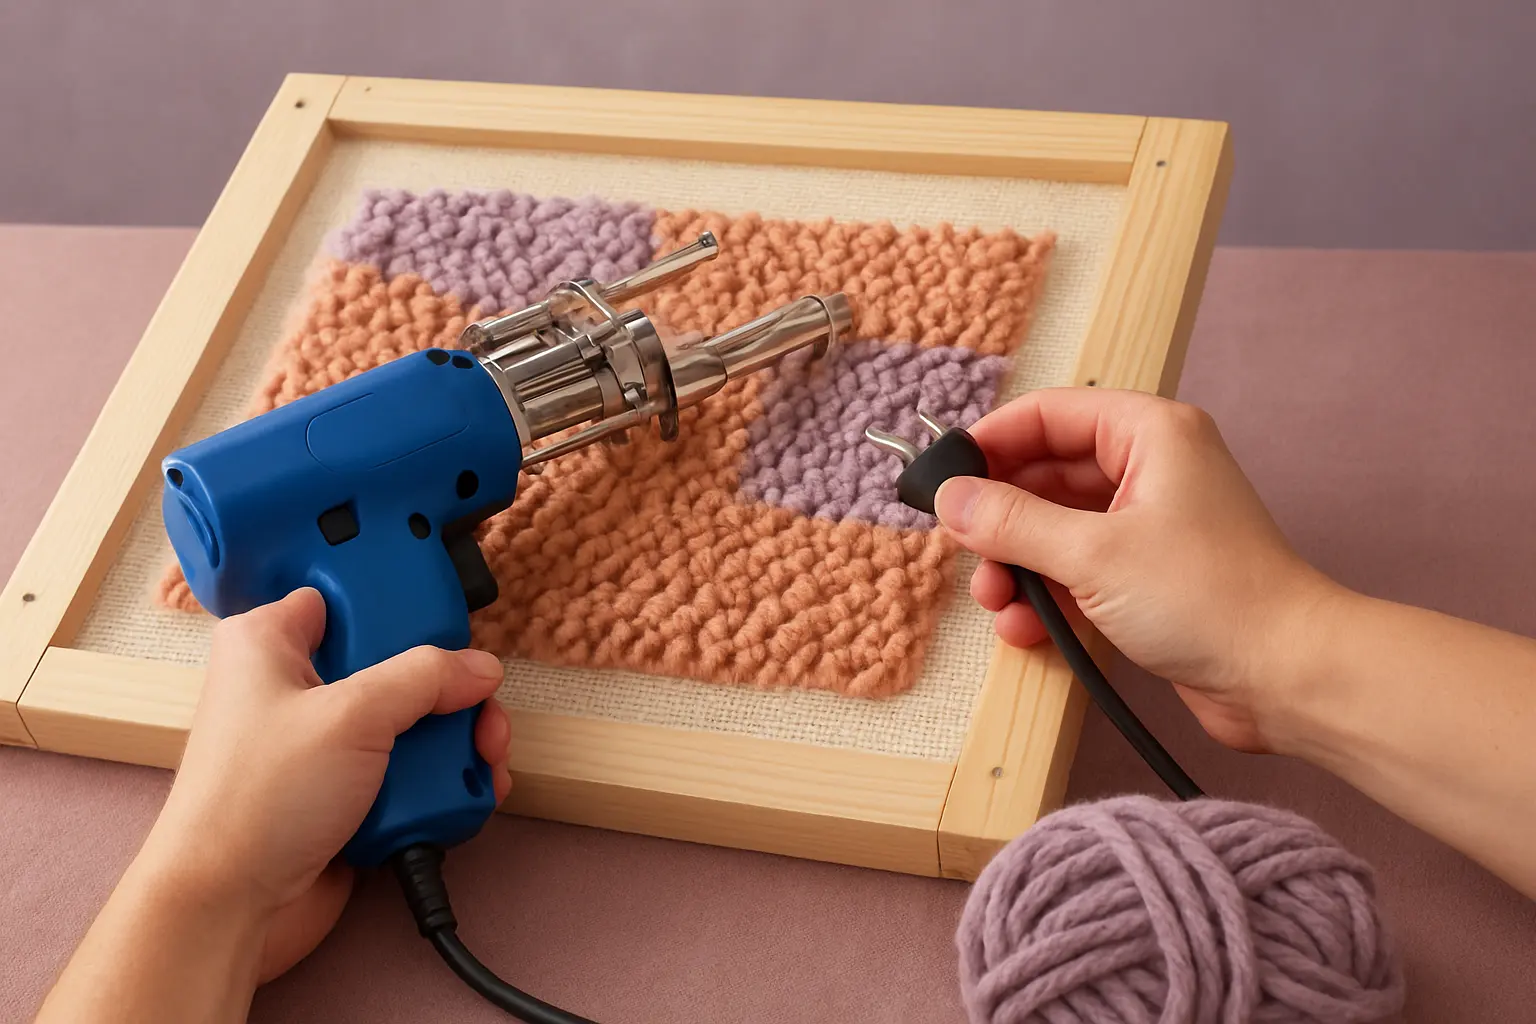
Illustration of step 1: Step 1: Disconnect power Unplug the machine before placing hands near the needle, guides, scissors or moving mechanism.
Unplug the machine before placing hands near the needle, guides, scissors or moving mechanism.

Unplug the machine before placing hands near the needle, guides, scissors or moving mechanism.

Step 2: Prepare a free-running yarn supply
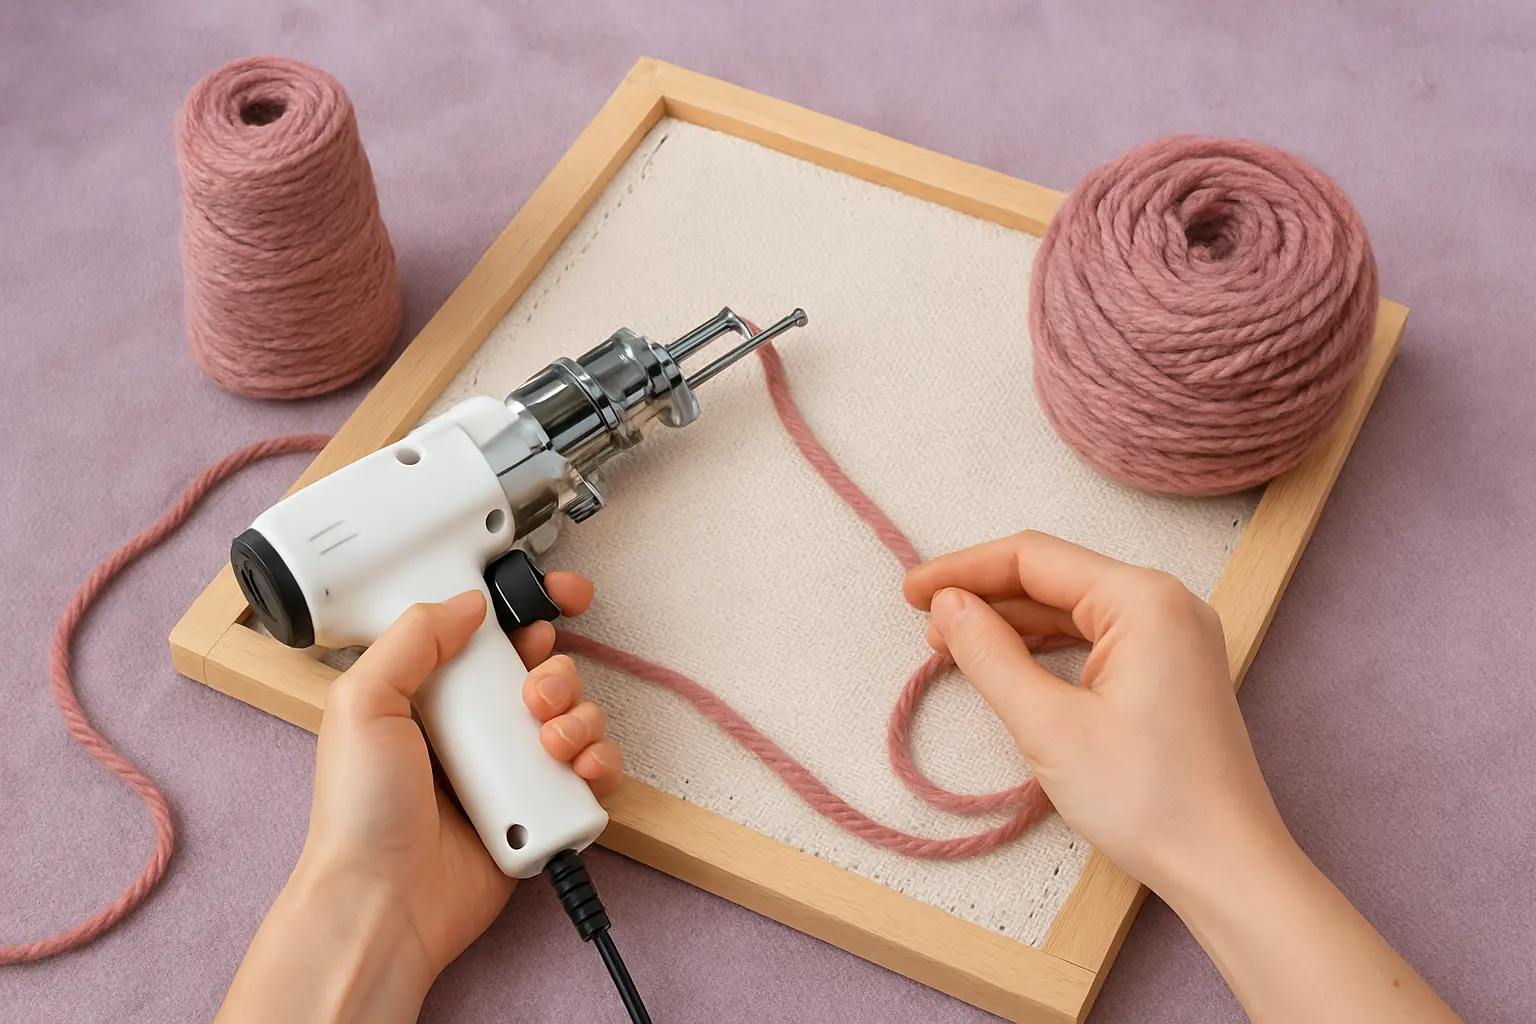
Illustration of step 2: Step 2: Prepare a free-running yarn supply Place the cone or ball so yarn can unwind without snagging against corners, furniture or nearby equipment.
Place the cone or ball so yarn can unwind without snagging against corners, furniture or nearby equipment.

Place the cone or ball so yarn can unwind without snagging against corners, furniture or nearby equipment.

Step 3: Follow the model-specific yarn path
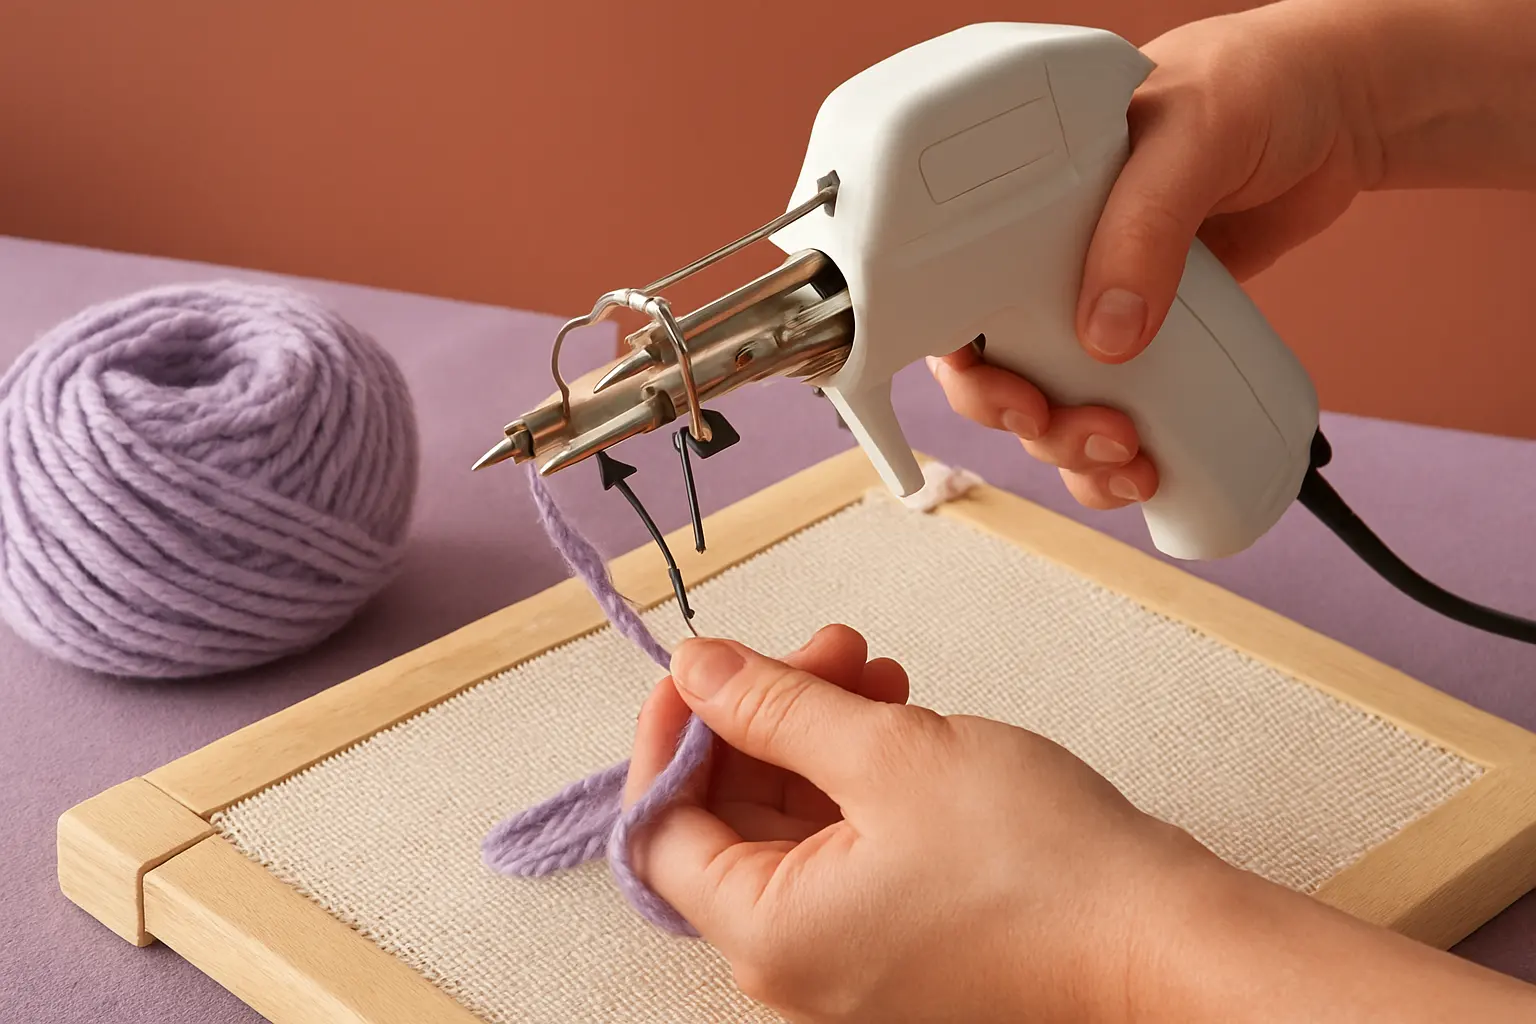
Illustration of step 3: Step 3: Follow the model-specific yarn path Pass yarn through the machine’s designated guides and needle using the exact diagram provided for your model.
Pass yarn through the machine’s designated guides and needle using the exact diagram provided for your model.

Pass yarn through the machine’s designated guides and needle using the exact diagram provided for your model.

Step 4: Check the yarn and needle relationship
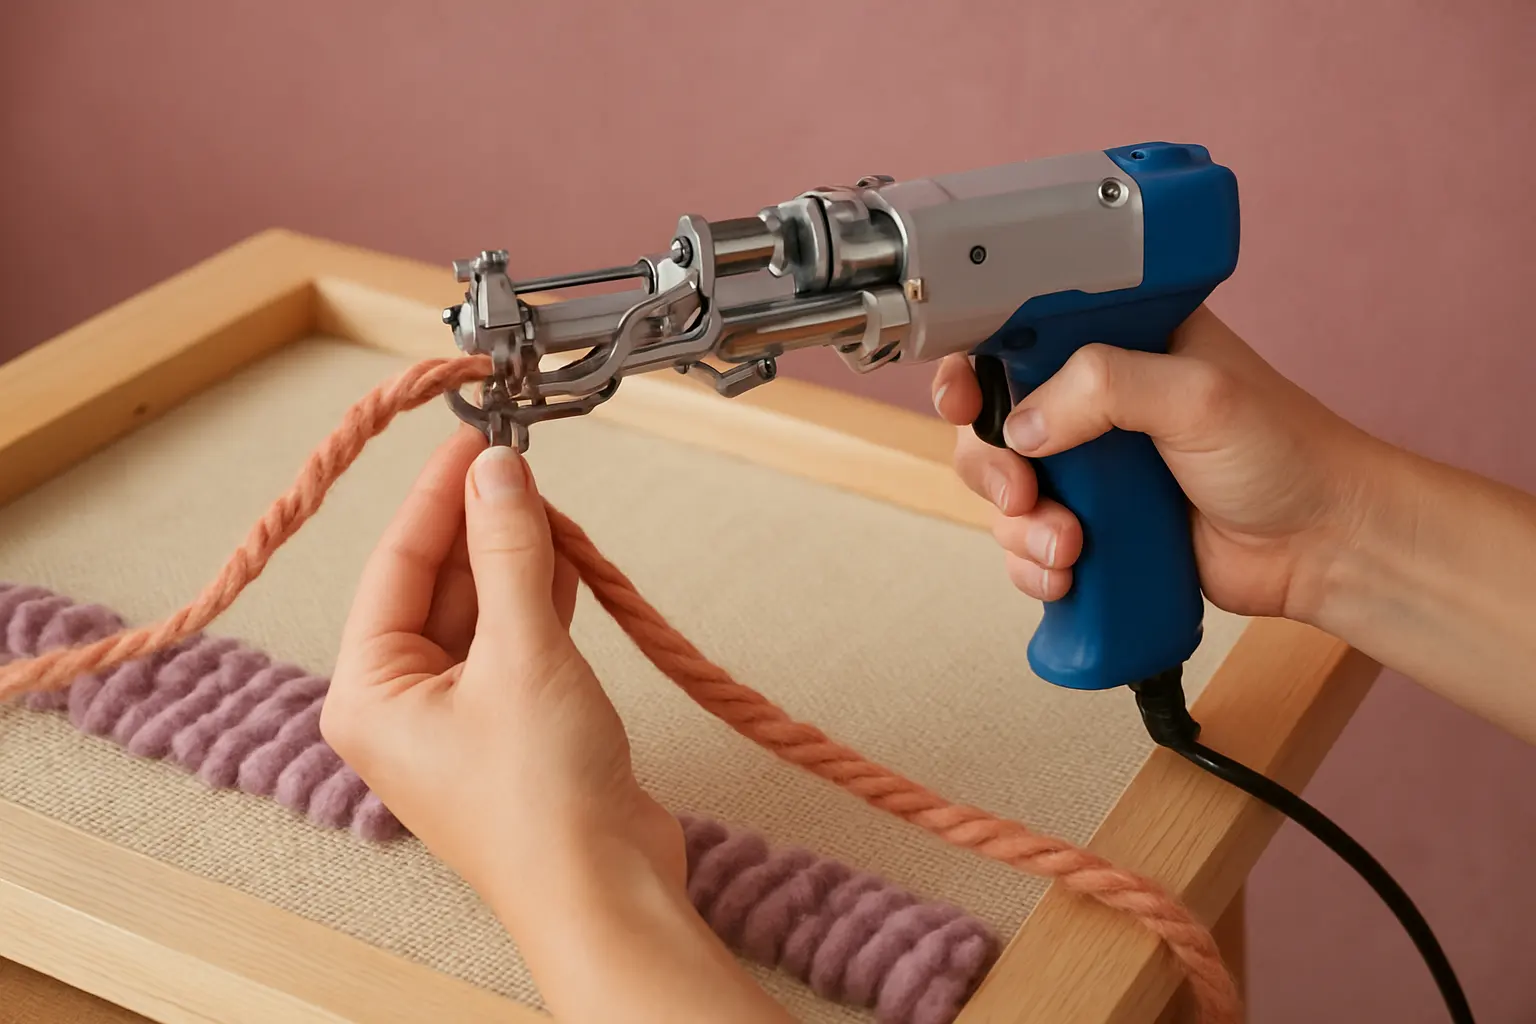
Illustration of step 4: Step 4: Check the yarn and needle relationship Confirm that the yarn sits in the prescribed position and that no slack hangs into moving parts.
Confirm that the yarn sits in the prescribed position and that no slack hangs into moving parts.

Confirm that the yarn sits in the prescribed position and that no slack hangs into moving parts.

Step 5: Test on scrap cloth
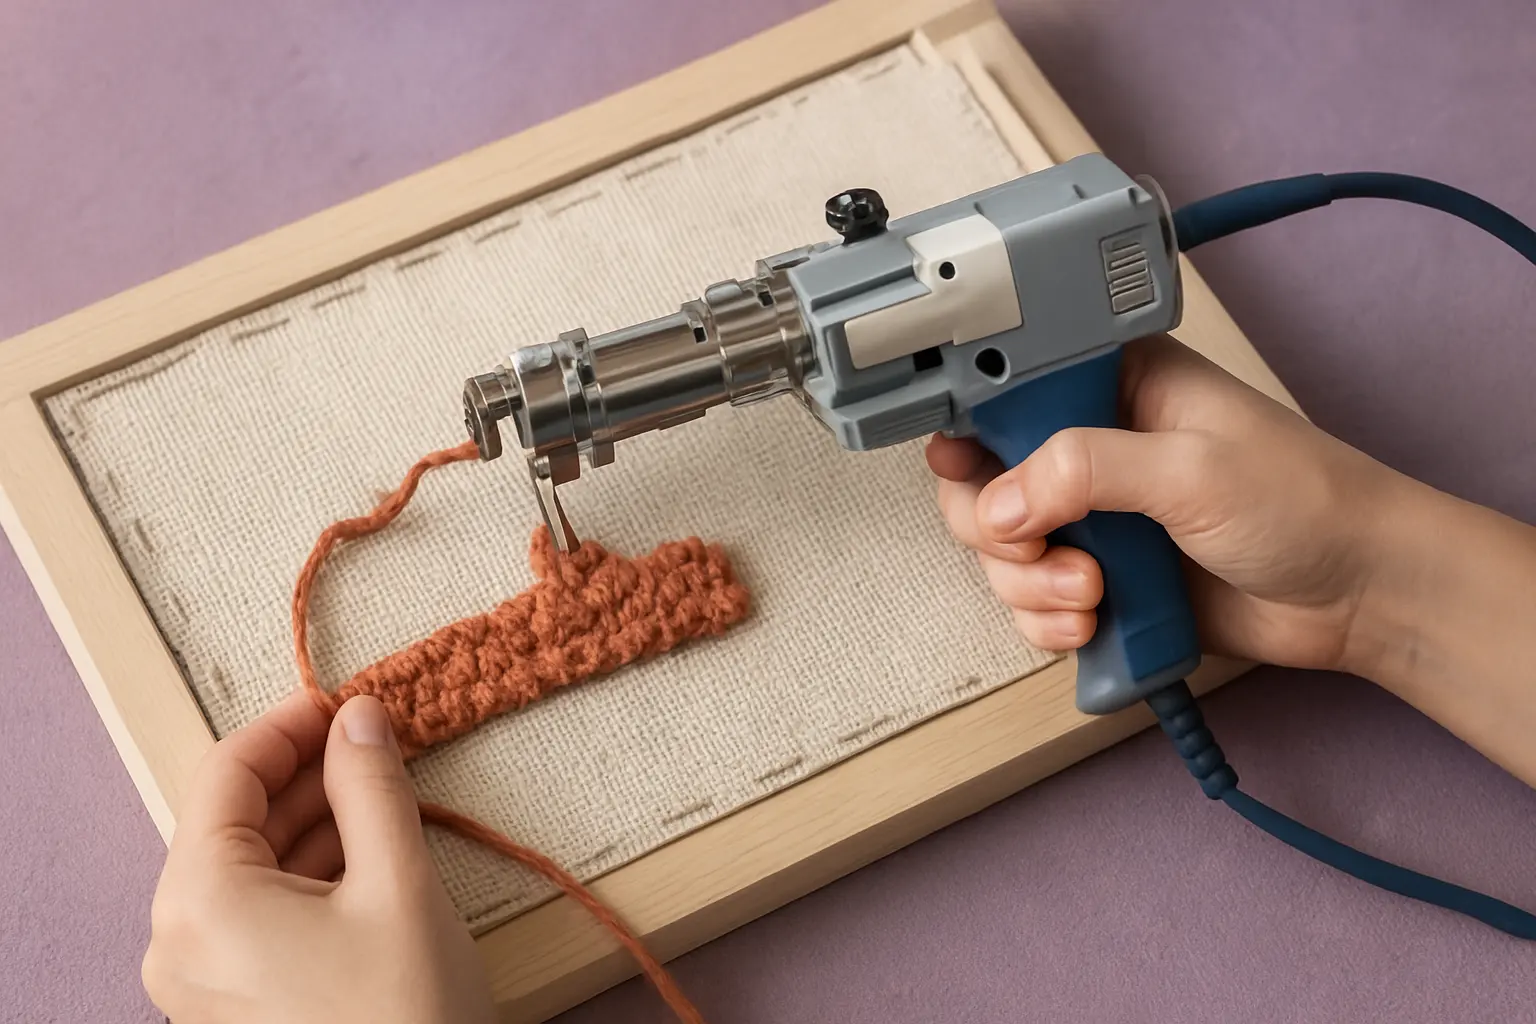
Illustration of step 5: Step 5: Test on scrap cloth Reconnect power only after clearing the needle area. Make slow, short passes and observe whether loops or cut tufts hold consistently.
Reconnect power only after clearing the needle area.

Reconnect power only after clearing the needle area. Make slow, short passes and observe whether loops or cut tufts hold consistently.

Step 6: Correct jams with power off
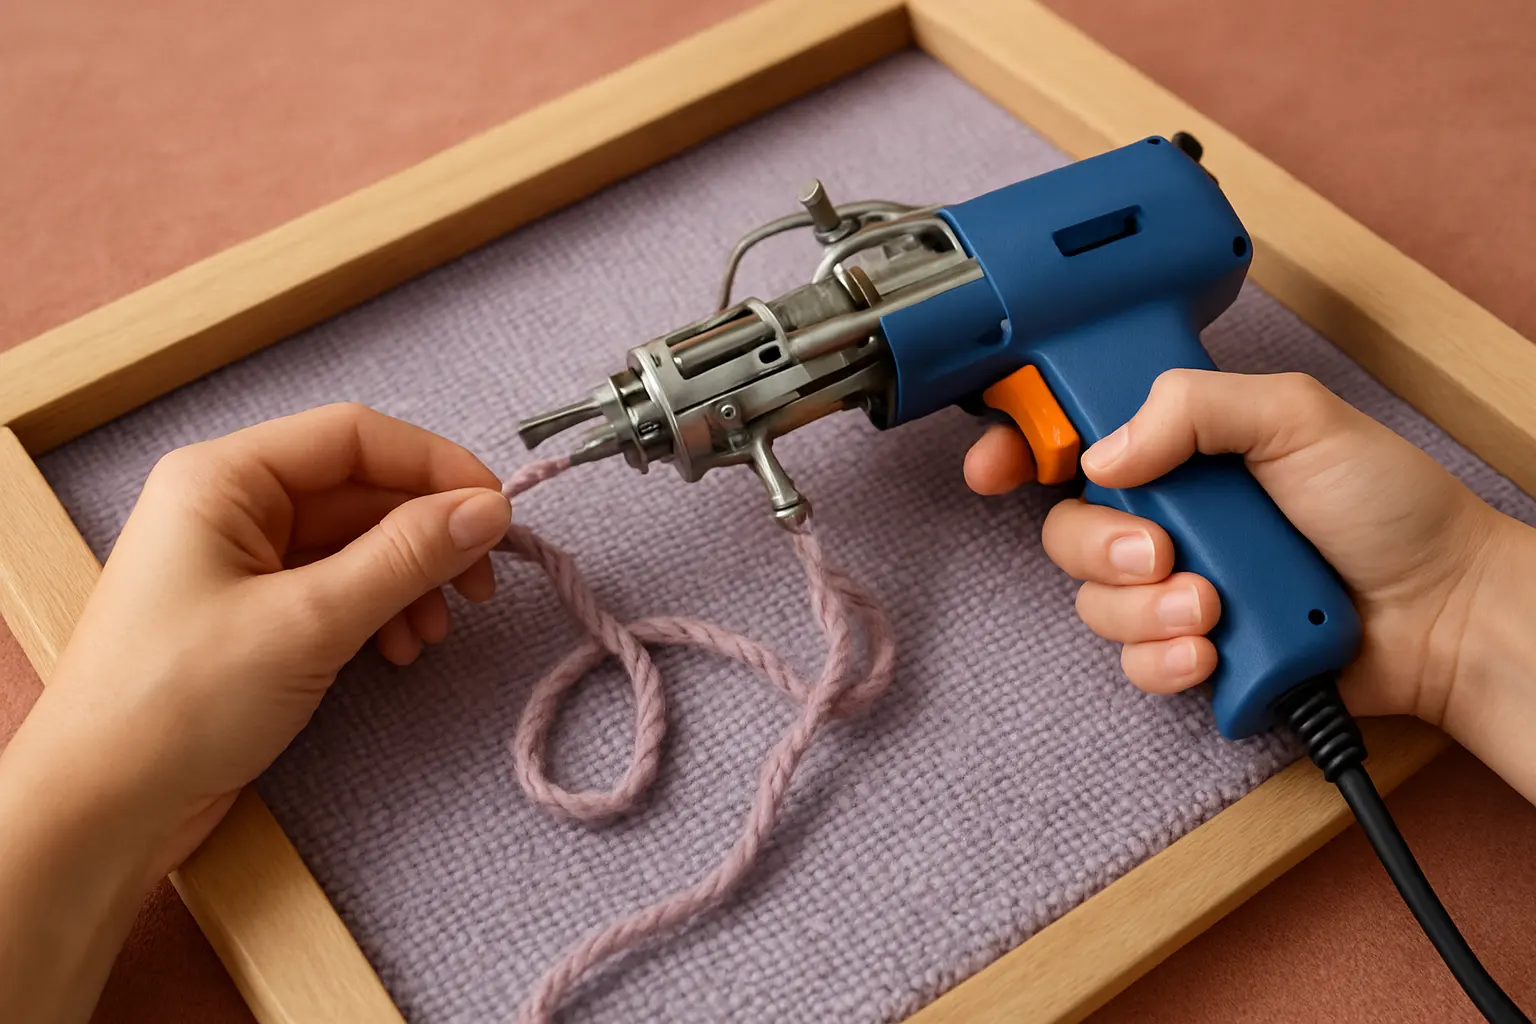
Illustration of step 6: Step 6: Correct jams with power off Stop and unplug before clearing a tangle; never pull fibers toward a moving blade or needle.
Stop and unplug before clearing a tangle; never pull fibers toward a moving blade or needle.

Stop and unplug before clearing a tangle; never pull fibers toward a moving blade or needle.

If yarn still skips, visit the skipped stitches guide before changing internal timing.

Equipment for this project

RESEARCHED GEAR

Compare the specifications and limitations of each option, or check current Amazon listings. Amazon searches may include different models.