Stable fabric tension is critical: the tufting needle works against the woven backing, and a sagging surface can move unpredictably. Whether your frame is bought or DIY, confirm it is rigid and firmly anchored before running a power tool.
Step 1: Choose the frame location
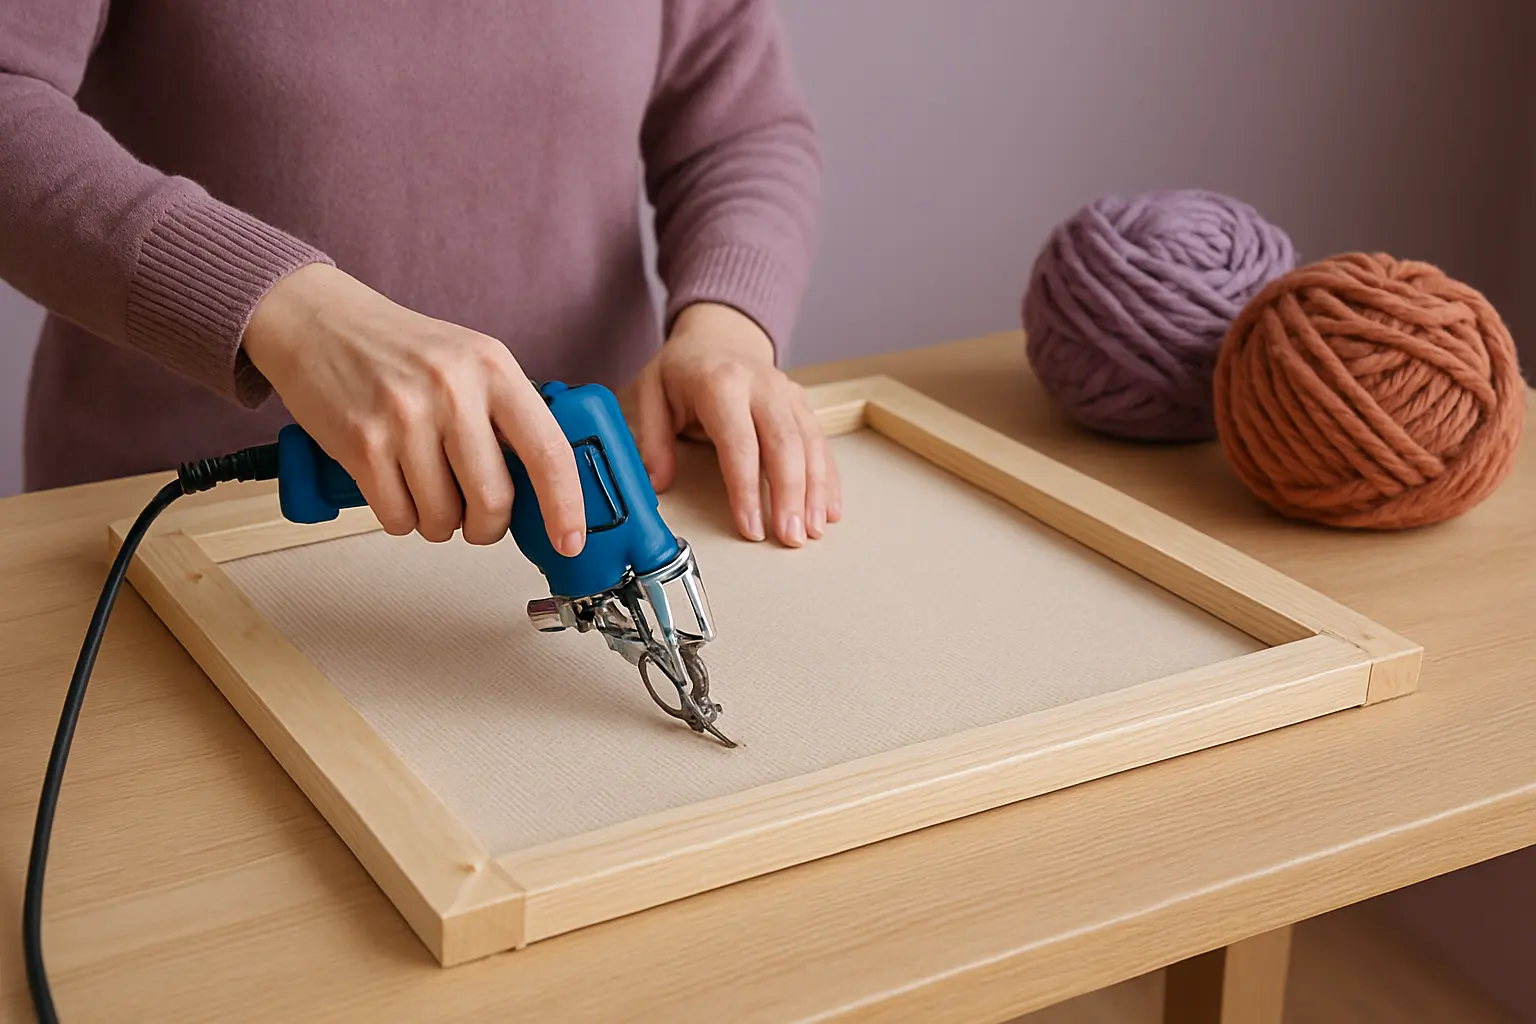
Use a stable workbench or structure that cannot tip when light pressure is applied. Leave enough clearance behind the fabric for the moving needle.
Step 2: Inspect frame edges and grippers
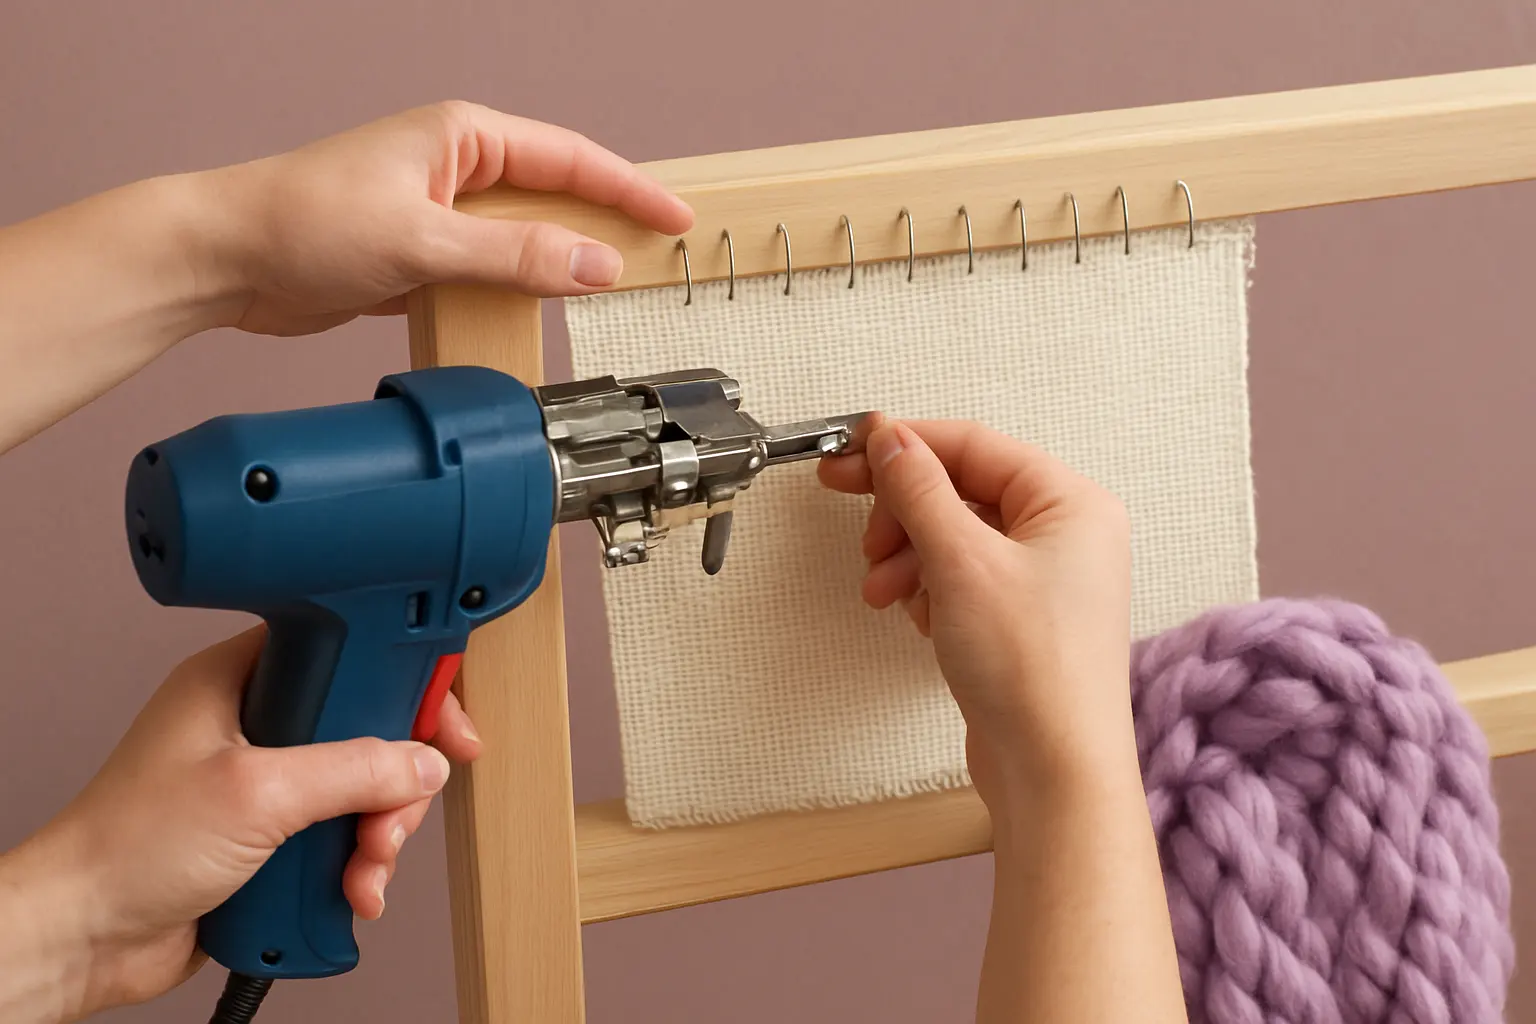
Check that timber has no protruding splinters and that gripper pins face the appropriate direction according to their instructions.
Step 3: Measure the cloth with margins
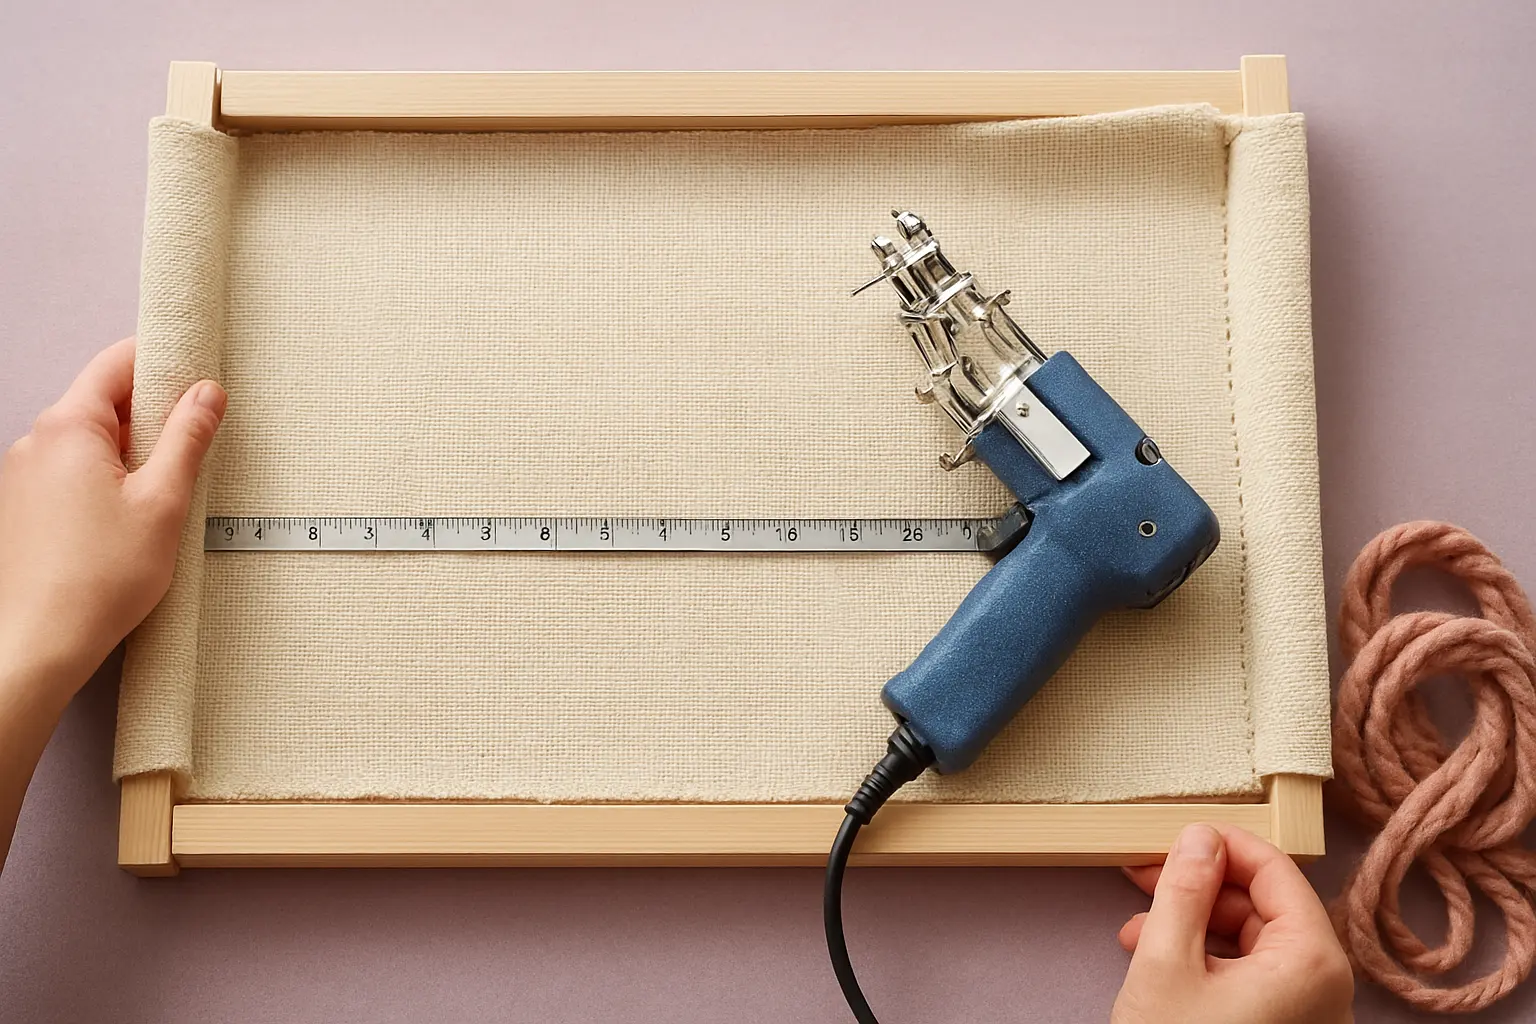
Cut primary cloth generously enough to wrap around the grippers and allow retensioning. Do not size it to the finished rug dimensions alone.
Step 4: Stretch opposite sides evenly
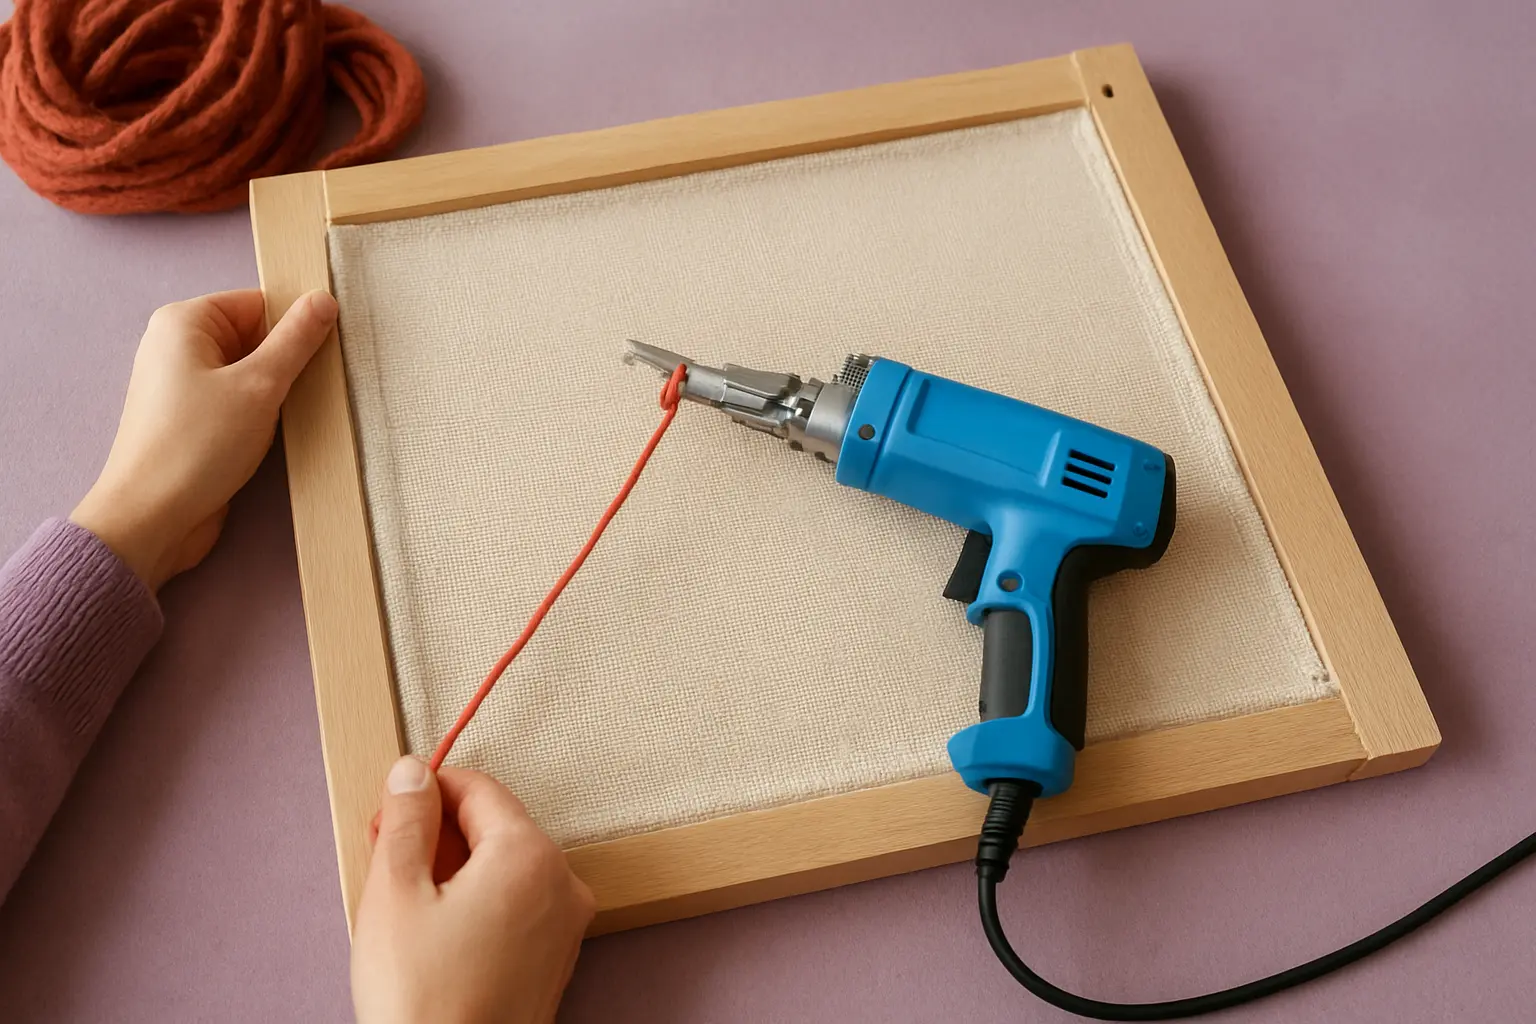
Work around the frame in alternating sides so the guide lines remain broadly square; avoid overloading one edge.
Step 5: Test the tension before plugging in
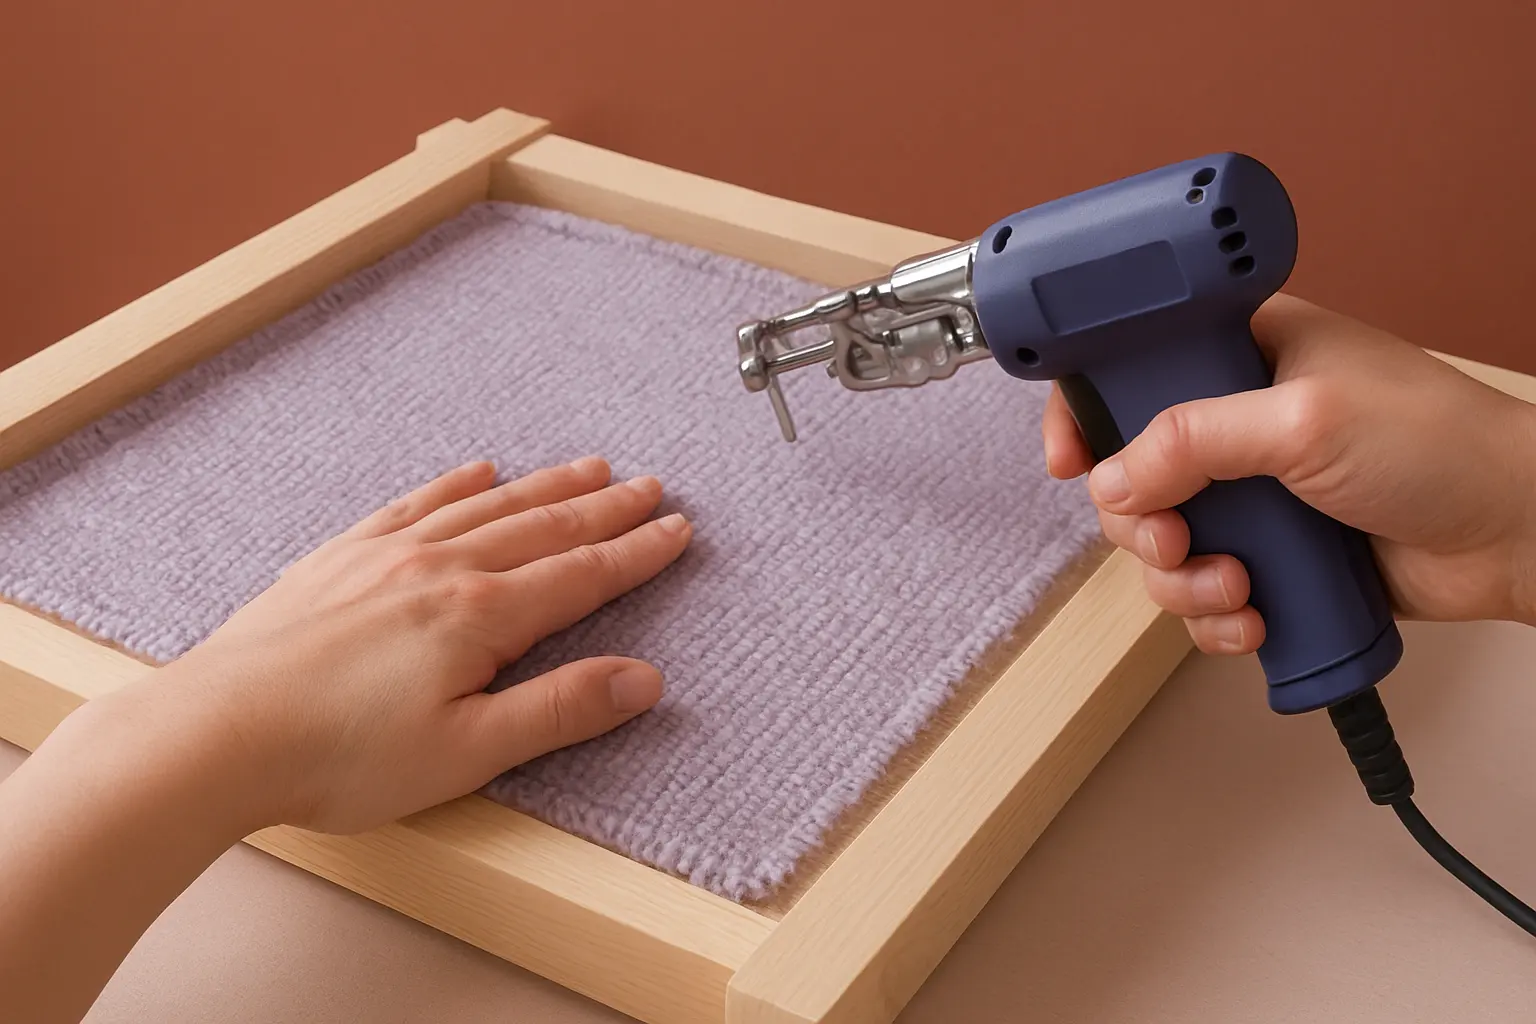
Inspect for sag, wrinkles and sharp protrusions. Adjust by hand while the power tool is disconnected.
Step 6: Practice on a spare edge
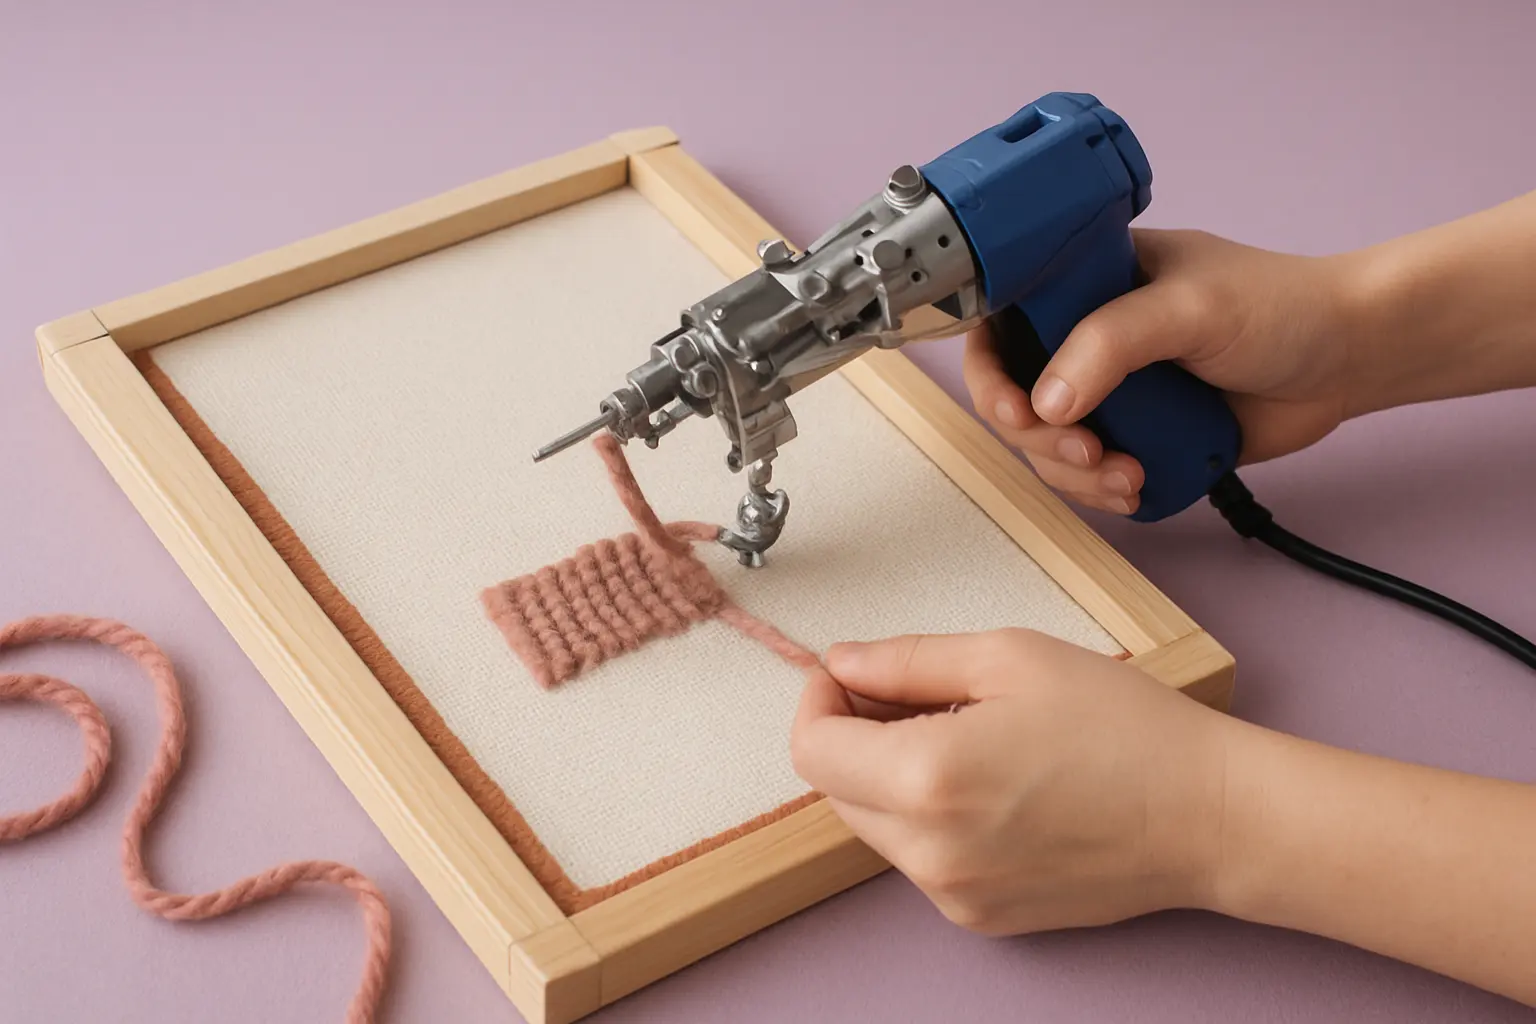
Use a test strip at the edge to confirm the backing holds yarn at your chosen settings before stitching the actual motif.
For beginners, a ready-made tabletop frame may save measuring and mounting errors, but it still needs secure clamping. See the frame and cloth catalog.
Equipment for this project
Compare the specifications and limitations of each option, or check current Amazon listings. Amazon searches may include different models.

Tufting Europe 90 × 90 cm Tabletop Frame
A stable first workstation for smaller pieces
Tuft the World White Primary Tufting Cloth
A woven primary cloth compatible with rug tufting