Finishing determines whether a tufted piece becomes a durable rug or a fragile sample. Different adhesives, rug uses and secondary backings require different methods, so read the exact manufacturer instructions and perform a test patch.
Work in a ventilated space and use the recommended protection. Do not assume that any glue, spray or adhesive is suitable for a floor covering.
Step 1: Inspect the back and remove loose strands
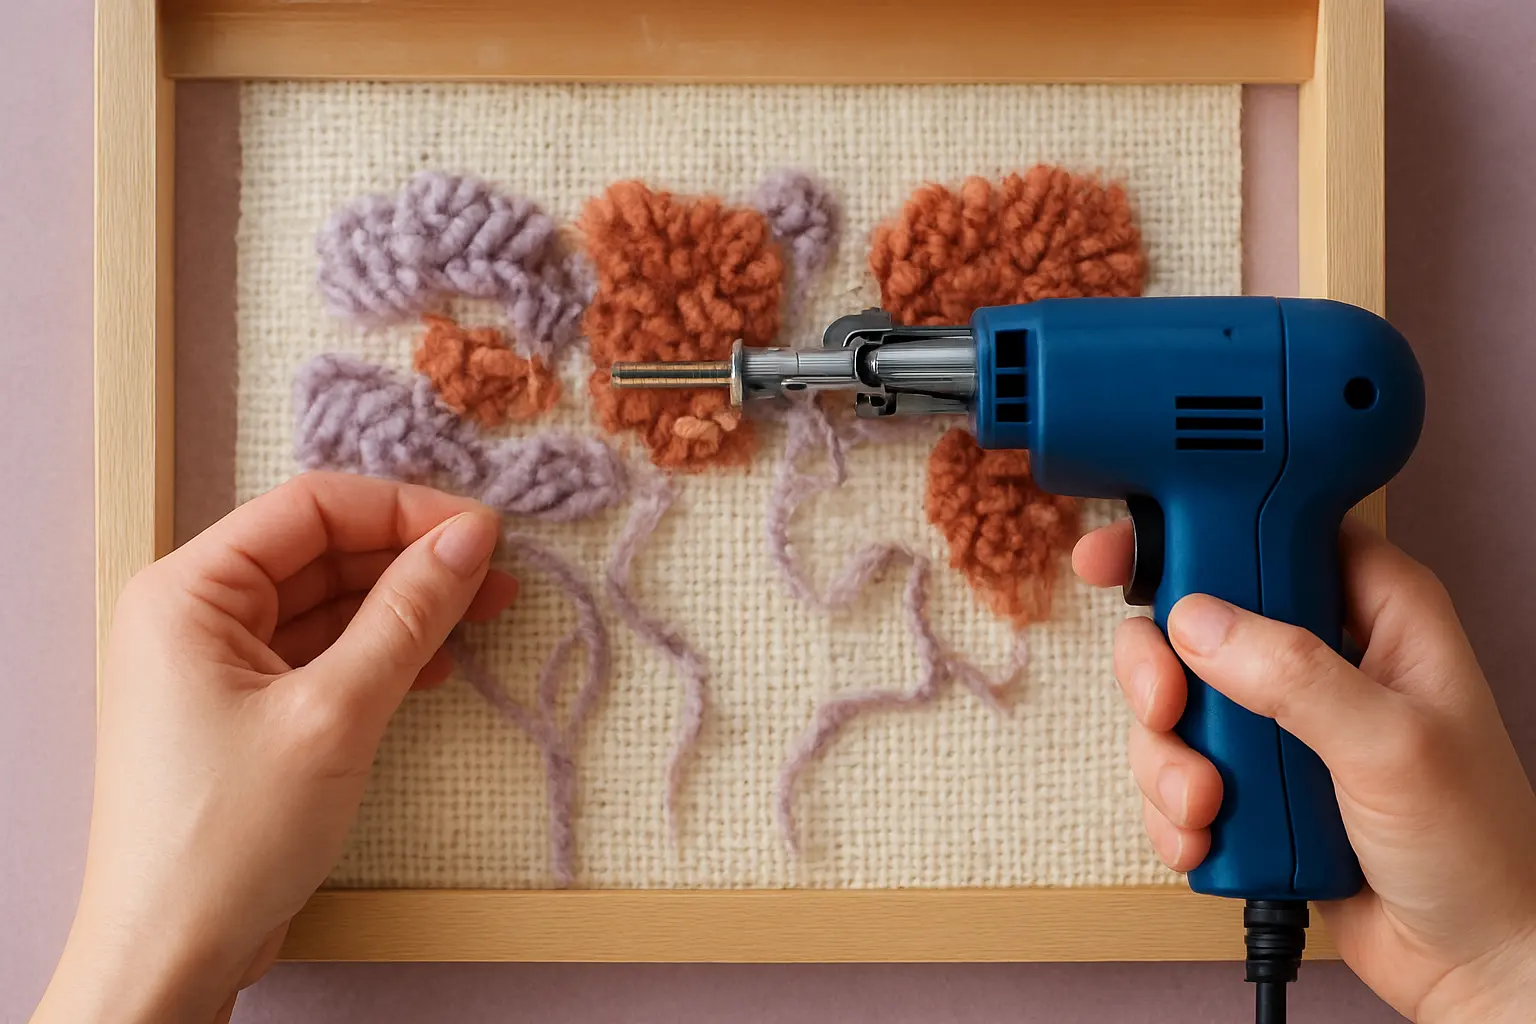
With the gun unplugged, check the rear of the tufting cloth for gaps and loose yarn tails. Make small corrections before covering stitches.
Step 2: Protect the workspace
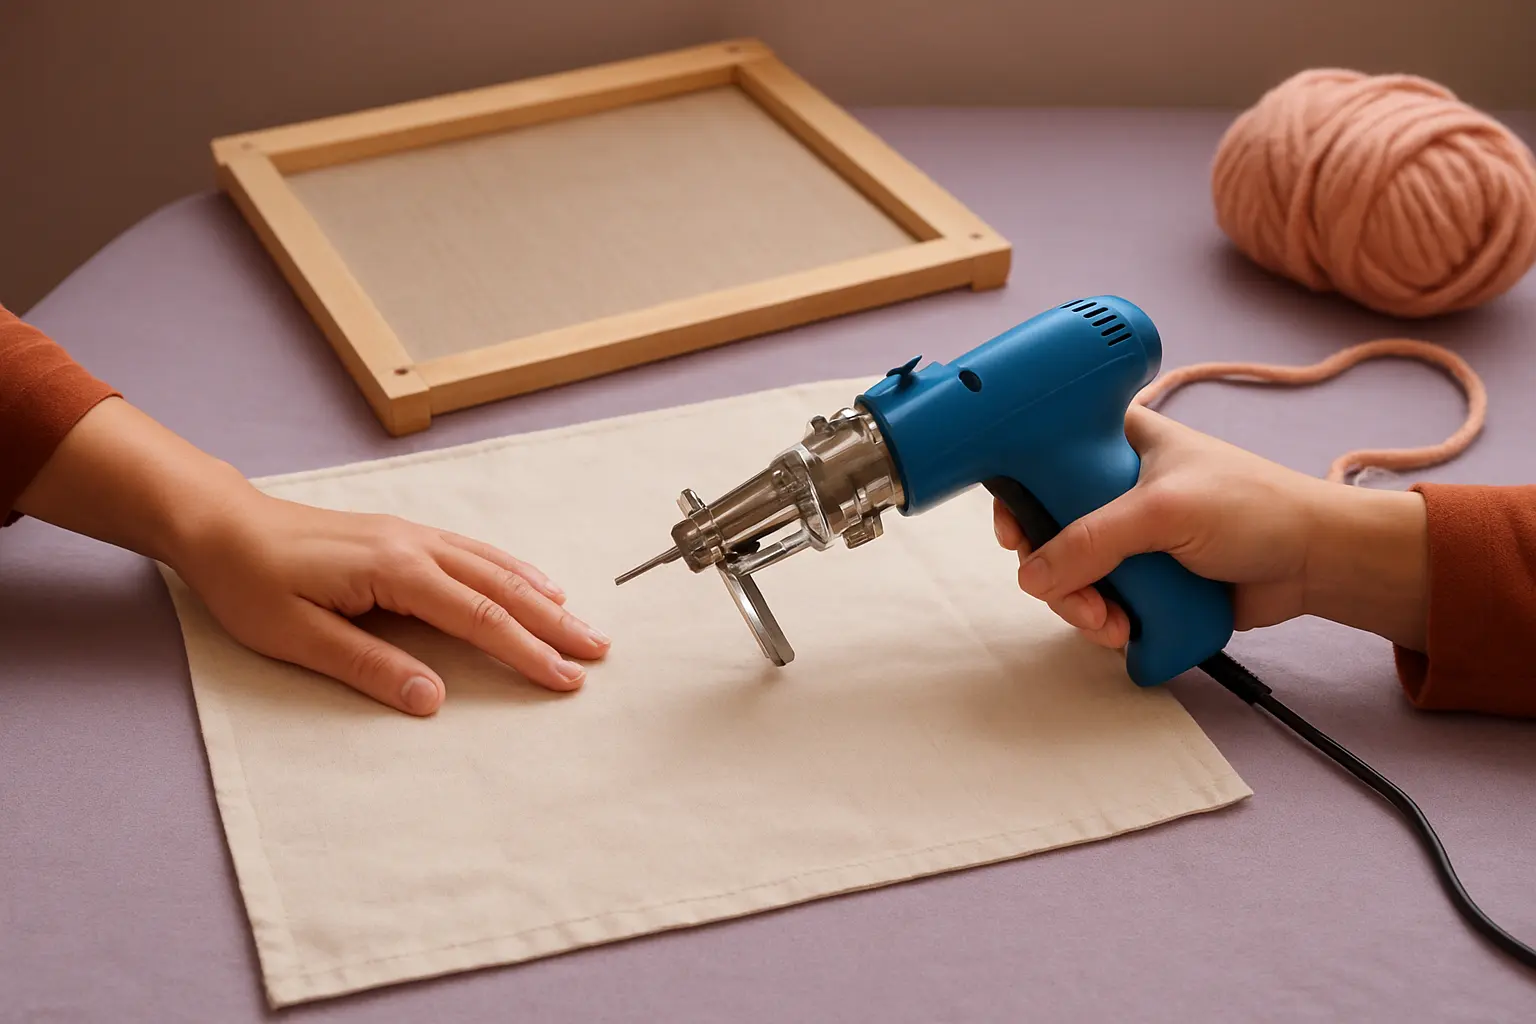
Lay down a suitable reusable work surface and keep children, pets and food away from adhesives.
Step 3: Prepare and apply the correct adhesive
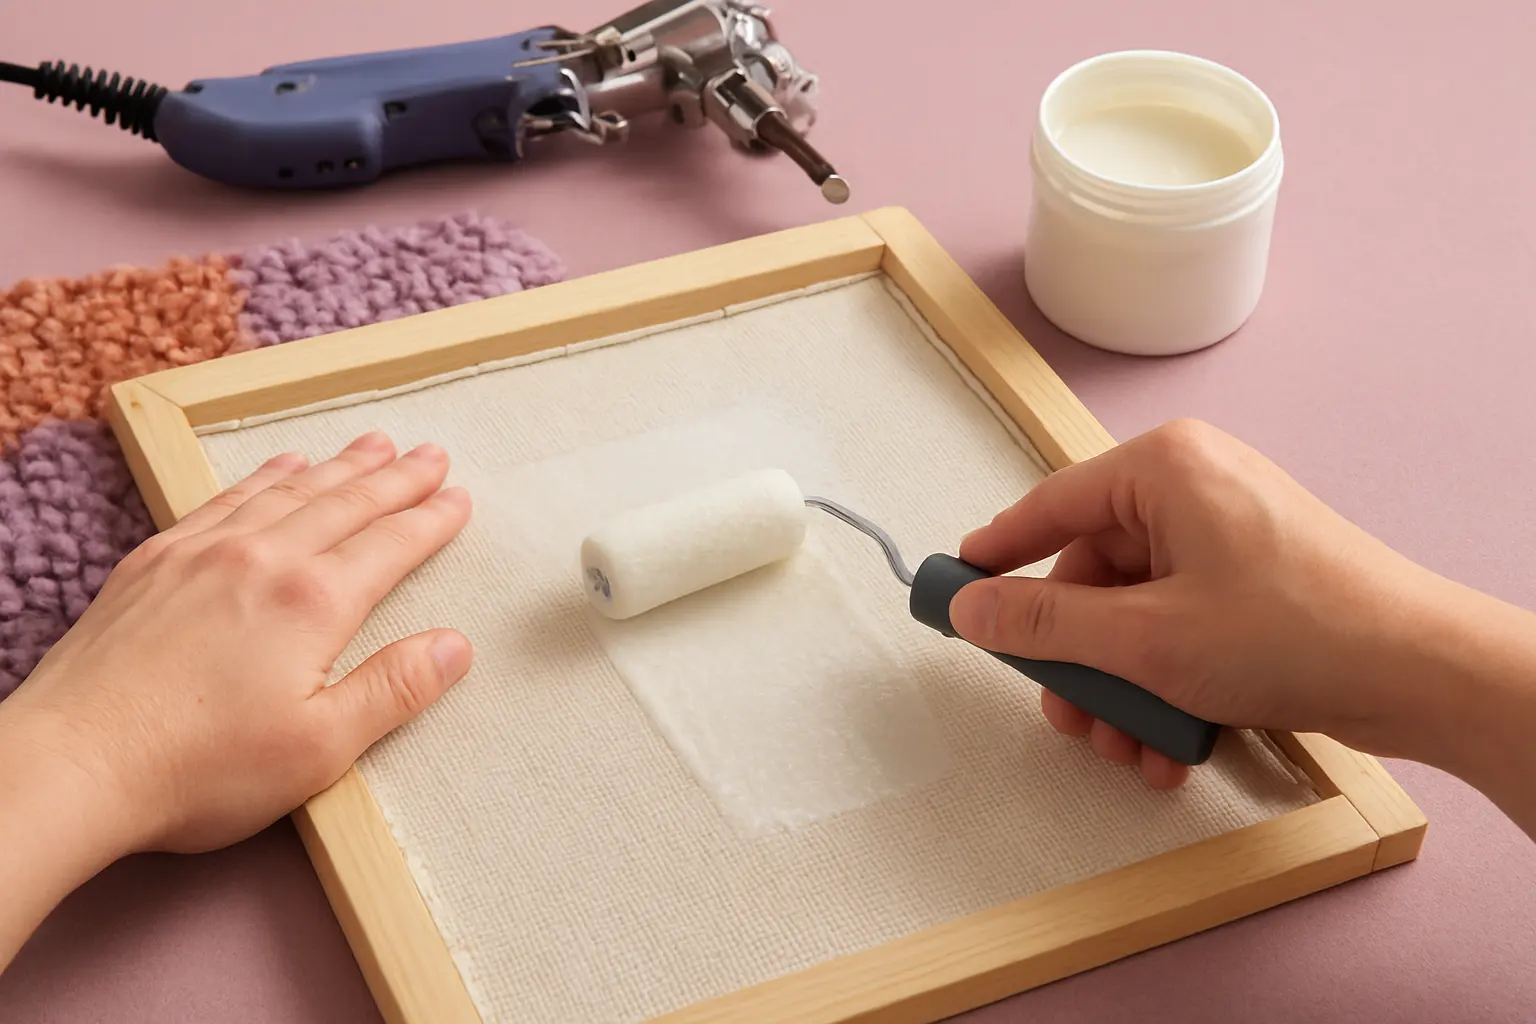
Mix or thin only if the product explicitly instructs it. Brush or roll an even layer onto the back while the tufted cloth remains tensioned.
Step 4: Wait for full curing
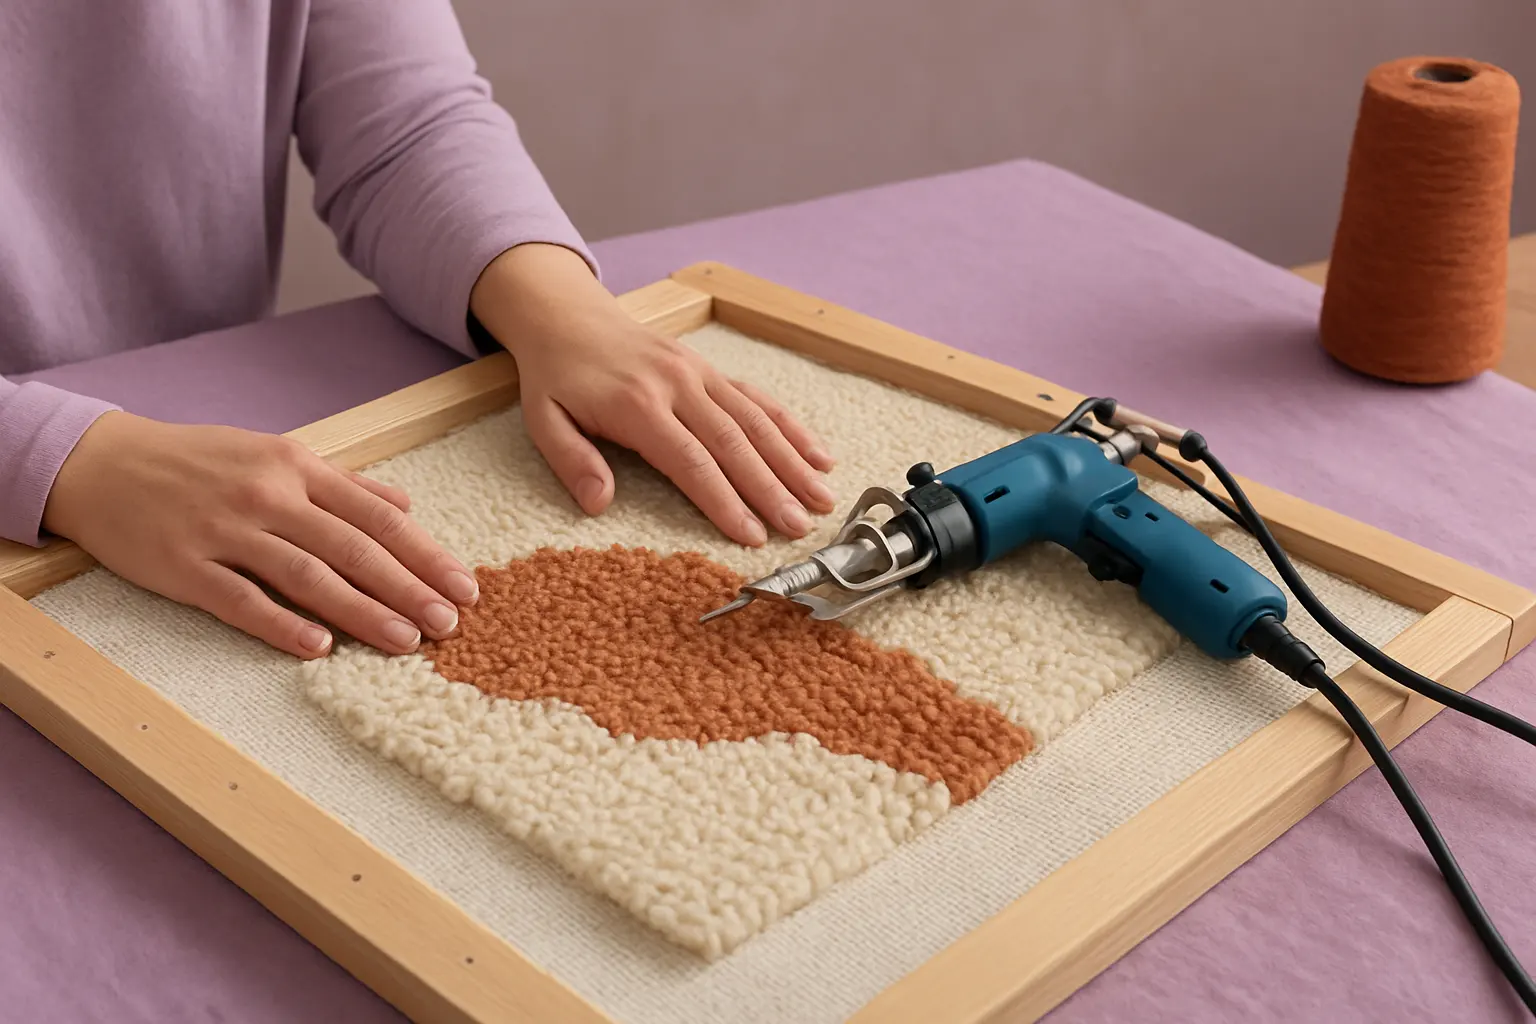
Respect the adhesive maker’s real drying range and environmental conditions. Do not rush removal from the frame.
Step 5: Trim margins and apply secondary backing
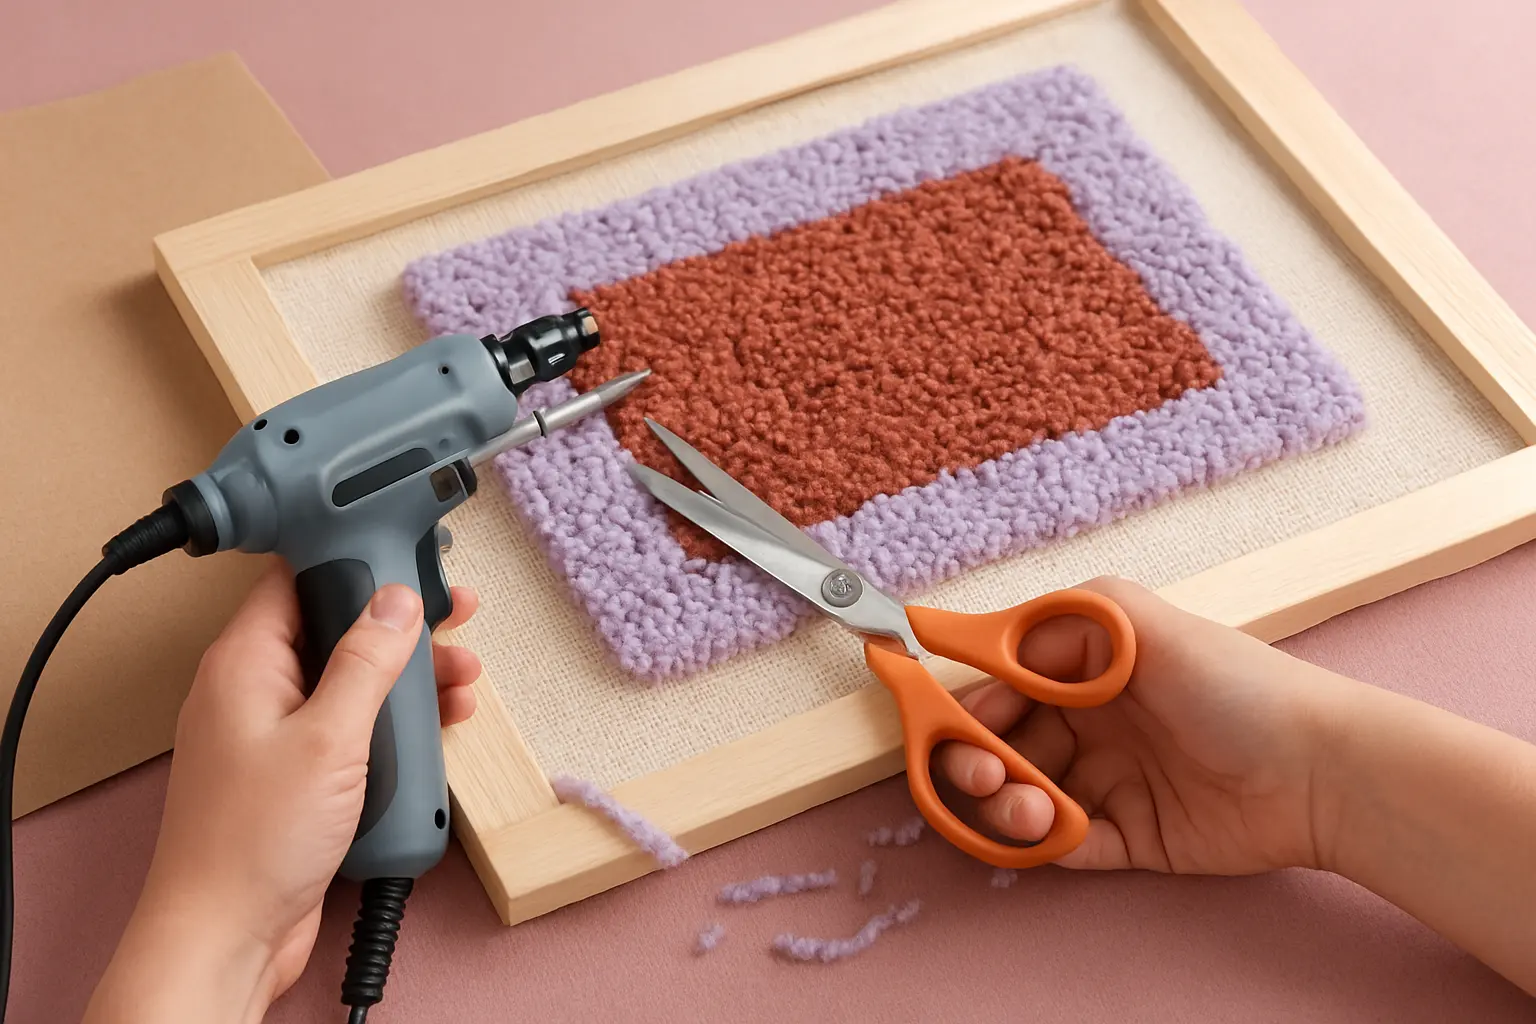
Cut around the piece without damaging stitches. Choose backing suited to wall art or floor use, and secure according to the backing system instructions.
Step 6: Carve and tidy cautiously
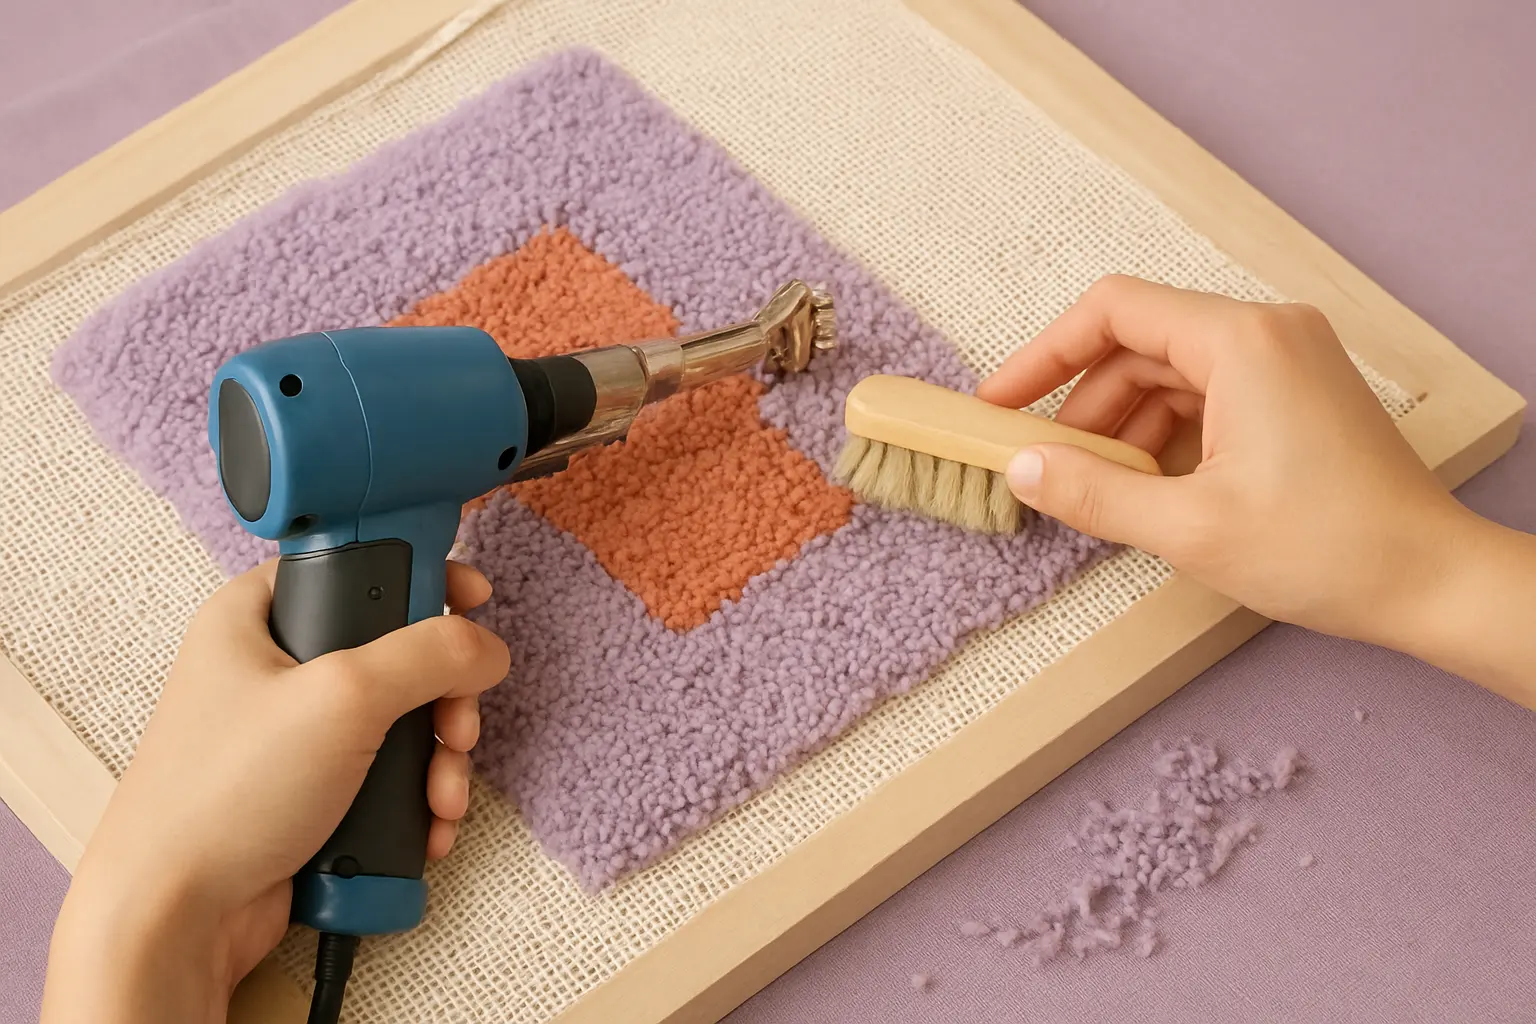
On cut pile, trim tiny amounts first. Keep clipper blades guarded and remove loose yarn with a suitable brush or vacuum attachment.
A carpet carving tool can help with outlines, but it does not fix low-quality tufting or poorly glued backing.
Compare the specifications and limitations of each option, or check current Amazon listings. Amazon searches may include different models.

Tuft the World Carpet Backing Adhesive
Securing yarn from the back before final finishing