Edge finishing is one of the most important steps in making a tufted rug look intentional rather than temporary. It also helps stop the foundation cloth from fraying, protects the glue layer, and can make the underside more durable for floor use. Tufting suppliers consistently treat edge finishing as a separate decision from backing: you first stabilize the tufted field, then decide whether the perimeter should be folded, bound, or professionally serged.
There is no single best edge finish for every tufted piece. A wall hanging may only need neat trimming and a backing layer, while a floor rug usually benefits from a more durable perimeter treatment. Manufacturers also vary in what they recommend for adhesive, cloth, and binding compatibility, so this guide stays conservative and avoids assuming one product or one method works for every build.
If you want the safest general rule: do not finish edges until the primary adhesive is fully cured, and do not choose a binding or edge tape without checking that it suits your rug’s backing, pile height, and use case. For heavily used floor pieces, it is often wiser to use a professional carpet or rug-finishing service than to improvise a decorative edge that may fail early.
What “finishing the edge” actually means
In tufting, edge finishing refers to the perimeter treatment around the completed rug after tufting, backing, and trimming. The goal is to stop the fabric edge from unraveling, cover raw cloth, and give the rug a cleaner border. Tufting manufacturers commonly describe three broad approaches: folding the excess cloth under, binding the perimeter with tape or stitched edging, or using a carpet-finishing shop for serging or similar industrial edge work.
The right choice depends on whether the rug is decorative or floor-rated, whether the backing is solid cloth or an open weave, and whether you have enough margin around the tufted area to wrap or bind neatly. A rug with very little allowance around the design is harder to finish cleanly, which is why several supplier guides recommend leaving extra cloth around the image before tufting begins.
Method choice: fold, bind, or outsource
For many handmade pieces, folding the cloth margin under and securing it to the back gives a neat result without introducing a bulky edge. Binding is better when you want a visible border or need extra perimeter protection. Professional serging or binding services are often the most conservative option for rugs expected to take regular floor wear, especially if the maker does not have the right tools or experience.
Supplier guides also note that not every perimeter finish is equally suitable for every build. Open-weave backings can behave differently from solid cloth, and some adhesive systems are intended to work while still wet rather than after drying. That means the edge decision cannot be made in isolation: it has to match the earlier backing and adhesive steps.
What material and construction questions matter most
Before finishing the edge, check four things: how much cloth margin you left, whether the primary adhesive is fully cured, what kind of secondary backing is attached, and whether the rug is cut pile, loop pile, or a mix of both. Loop pile and mixed-height surfaces can be more sensitive to aggressive trimming near the perimeter, while dense cut pile may tolerate a cleaner wrap or binding line.
Tufting suppliers also distinguish between materials meant for rug making and general-purpose fabric supplies. That matters because ordinary cloth or generic glue may not behave the same way as tufting-specific backing cloth or carpet adhesive. When manufacturers specify a dedicated tufting cloth or backing adhesive, that is usually a sign that the finishing step should stay within the same compatibility family rather than being improvised from unrelated sewing materials.
When a professional finisher is the safest choice
If the rug is large, valuable, or intended for regular floor use, professional edge binding is often the safest recommendation. Supplier knowledge bases explicitly mention rug and carpet repair services as a finishing option, and that advice is especially sensible when you want a durable perimeter but do not have industrial binding tools. This is also the most conservative route when the rug’s edge is unusually curved, irregular, or close to the tufted motif.
A professional service is also worth considering if the piece uses a specialty backing, if the edge must remain thin for door clearance, or if the rug’s construction combines cut and loop textures that could be damaged by over-handling. In those cases, a shop that already finishes carpets can assess the build and choose a perimeter method that matches the rug’s expected wear.
What not to assume
Do not assume all adhesives are interchangeable, all tapes are equally durable, or all finishing instructions transfer from quilting, garment sewing, or upholstery to tufted rugs. A binding method that works on a fabric edge may fail on a rug because tufted foundations are thicker, heavier, and more subject to pull forces. Do not assume a decorative border automatically counts as reinforcement, either; in many cases it is only a visual cover over a structural edge treatment.
It is also unsafe to assume that machine-washability, spray adhesive compatibility, or edge tape grip is universal. Several tufting suppliers explicitly warn that tufted pieces should not automatically be machine-washed because adhesive systems may not be washable. That same caution should carry over to edge finishing: choose methods based on the exact materials in your piece, not on general craft advice.
Step-by-step instructions
Step 1: 1. Let the tufted field cure before touching the perimeter
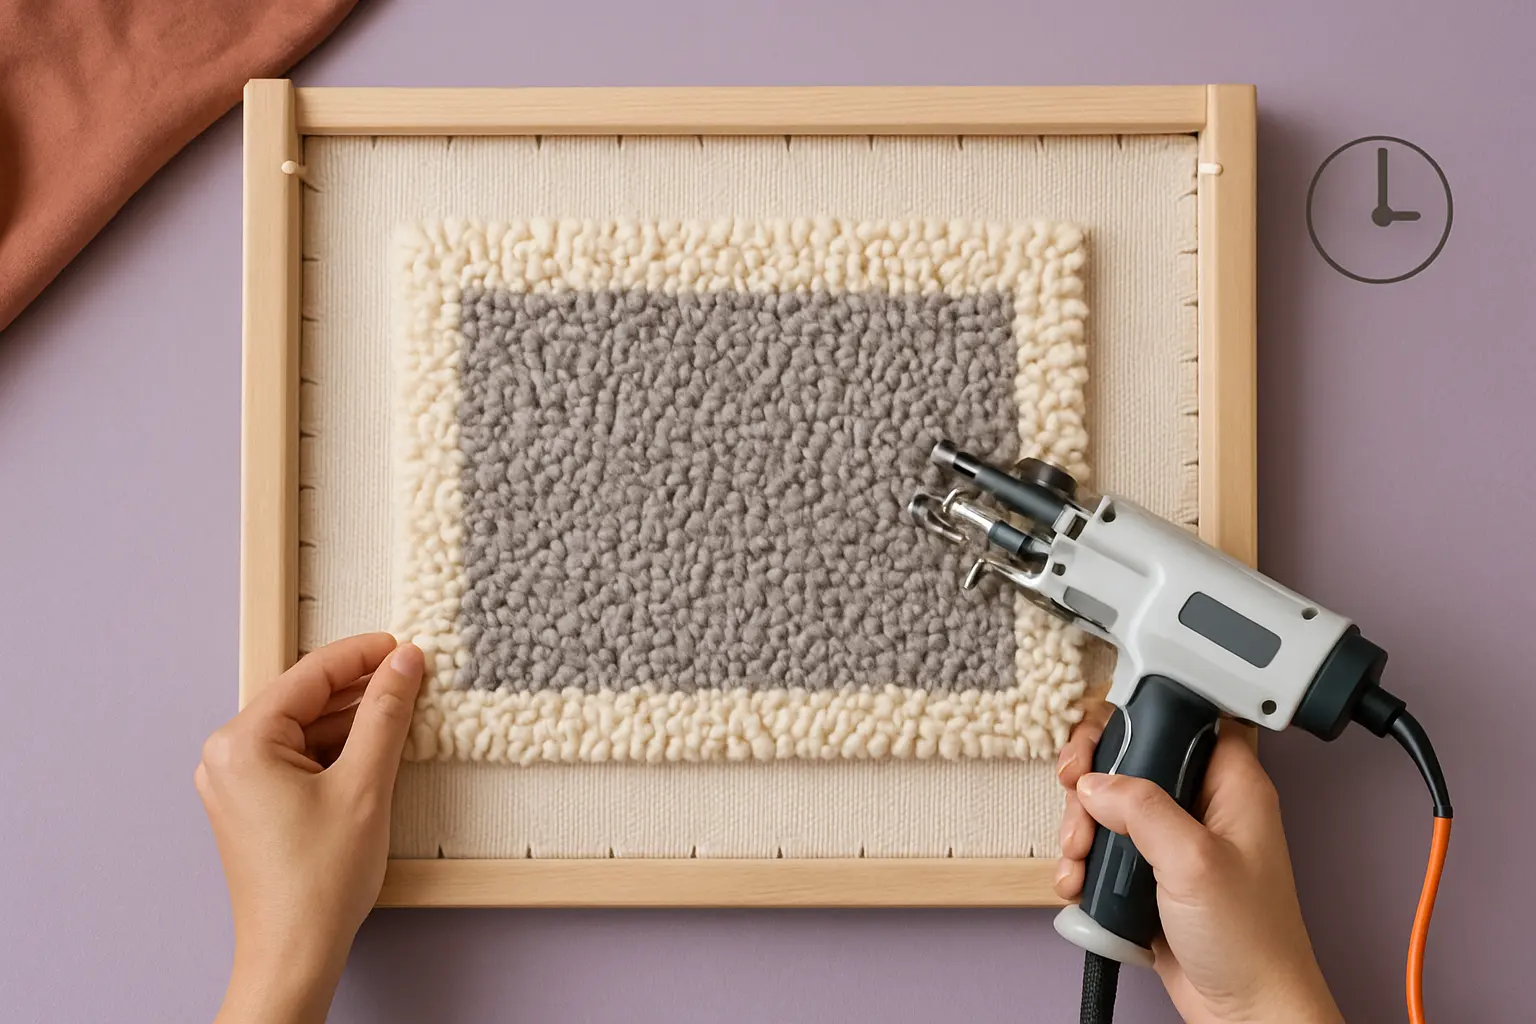
Keep the rug on the frame or fully supported until the primary adhesive is completely cured. Do not fold, trim, or bind the edge early, because a still-soft glue layer can shift the pile, distort the shape, or weaken the perimeter when you handle it.
Step 2: 2. Trim the excess foundation cloth with enough margin to work safely
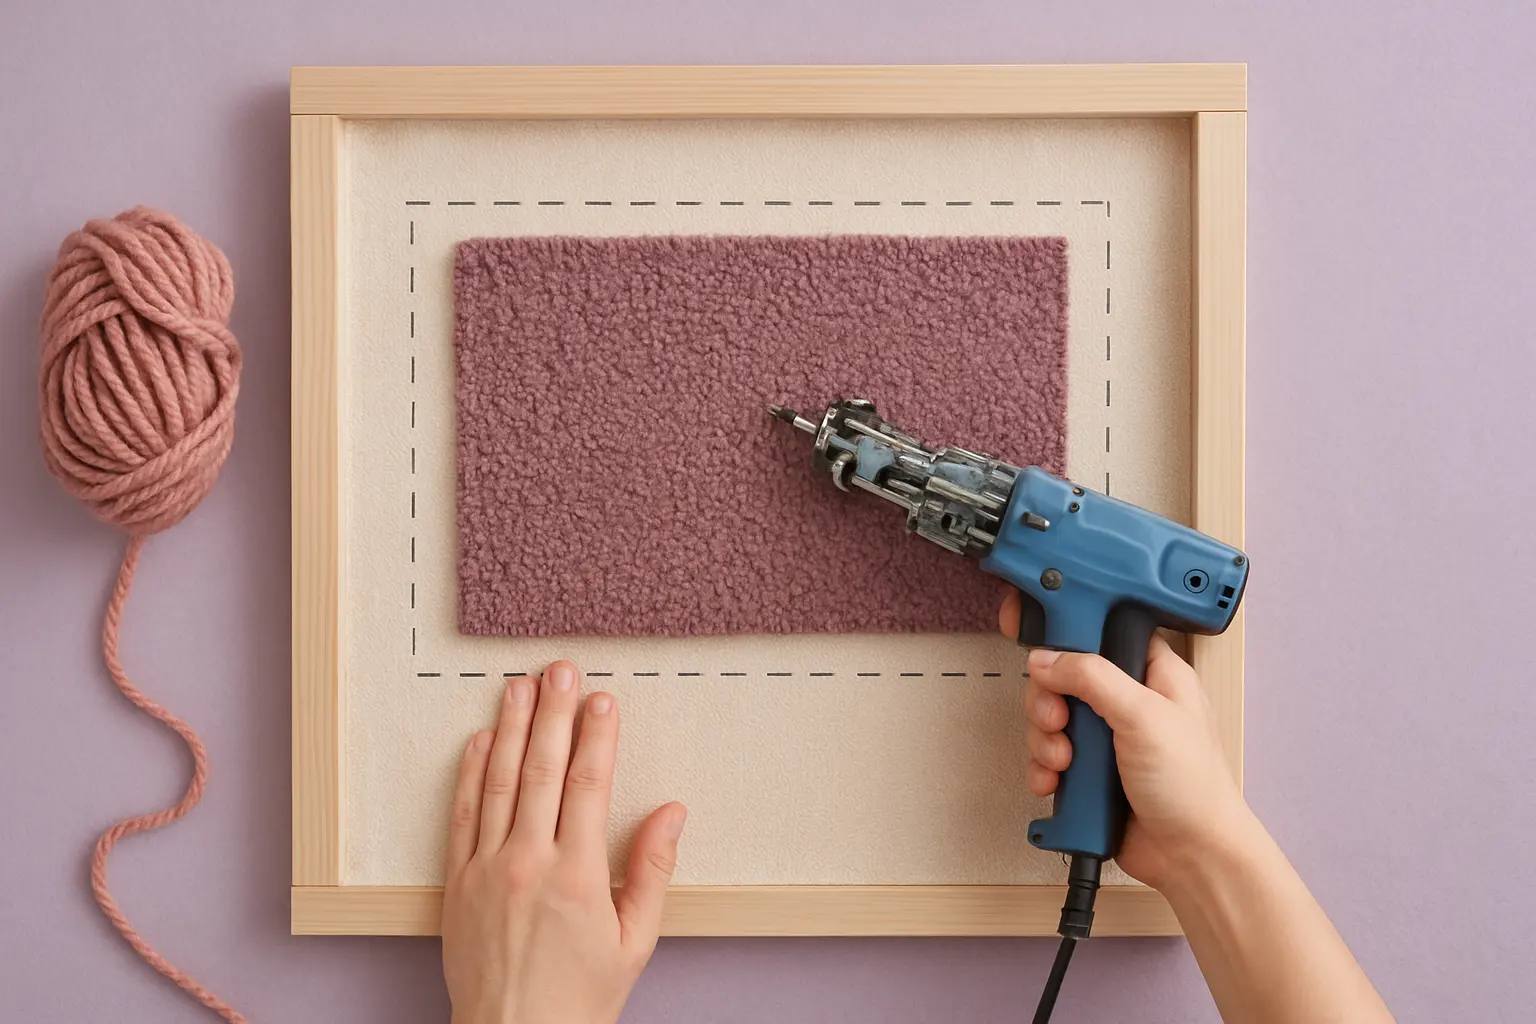
Cut the backing or primary cloth outside the tufted area, leaving a controlled edge allowance for folding or binding. Leave more margin if you plan to wrap the edge under; leave less only if you are certain the chosen binding method can cover the raw cloth cleanly.
Step 3: 3. Choose the finish that matches the rug’s use
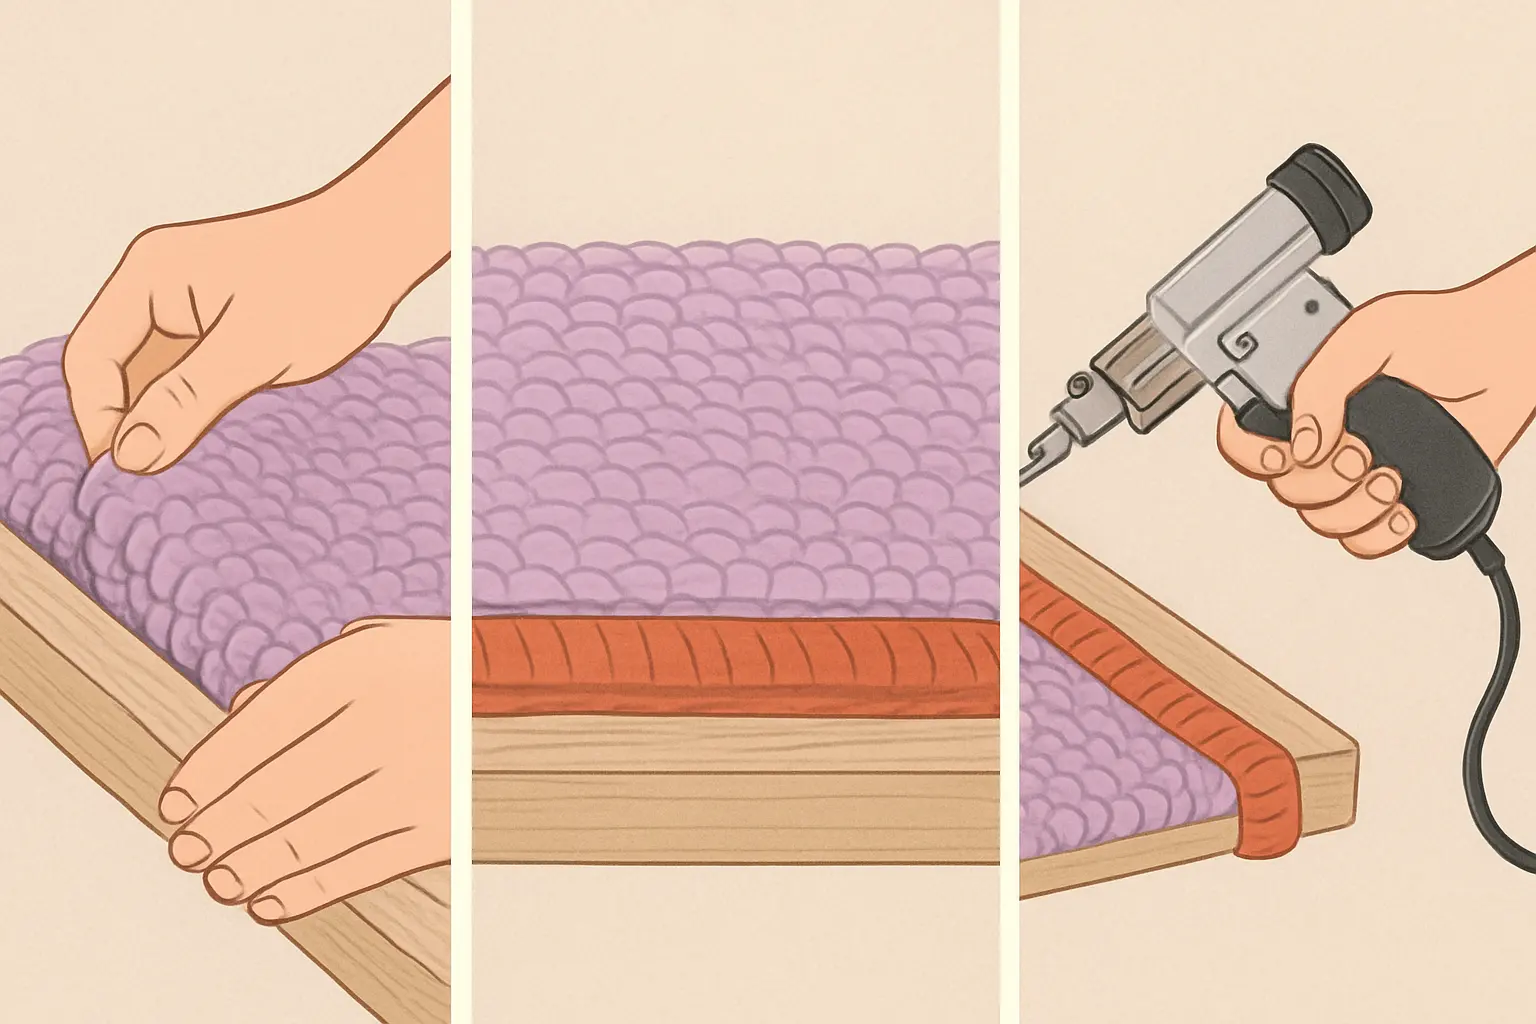
Use a folded-under finish for a simple clean border, binding for a visible and more formal perimeter, or professional serging/binding for floor rugs that need stronger wear resistance. If the rug is highly curved, large, or meant for heavy traffic, favor the most durable method you can do cleanly or outsource it.
Step 4: 4. Attach the edge finish without crushing the pile
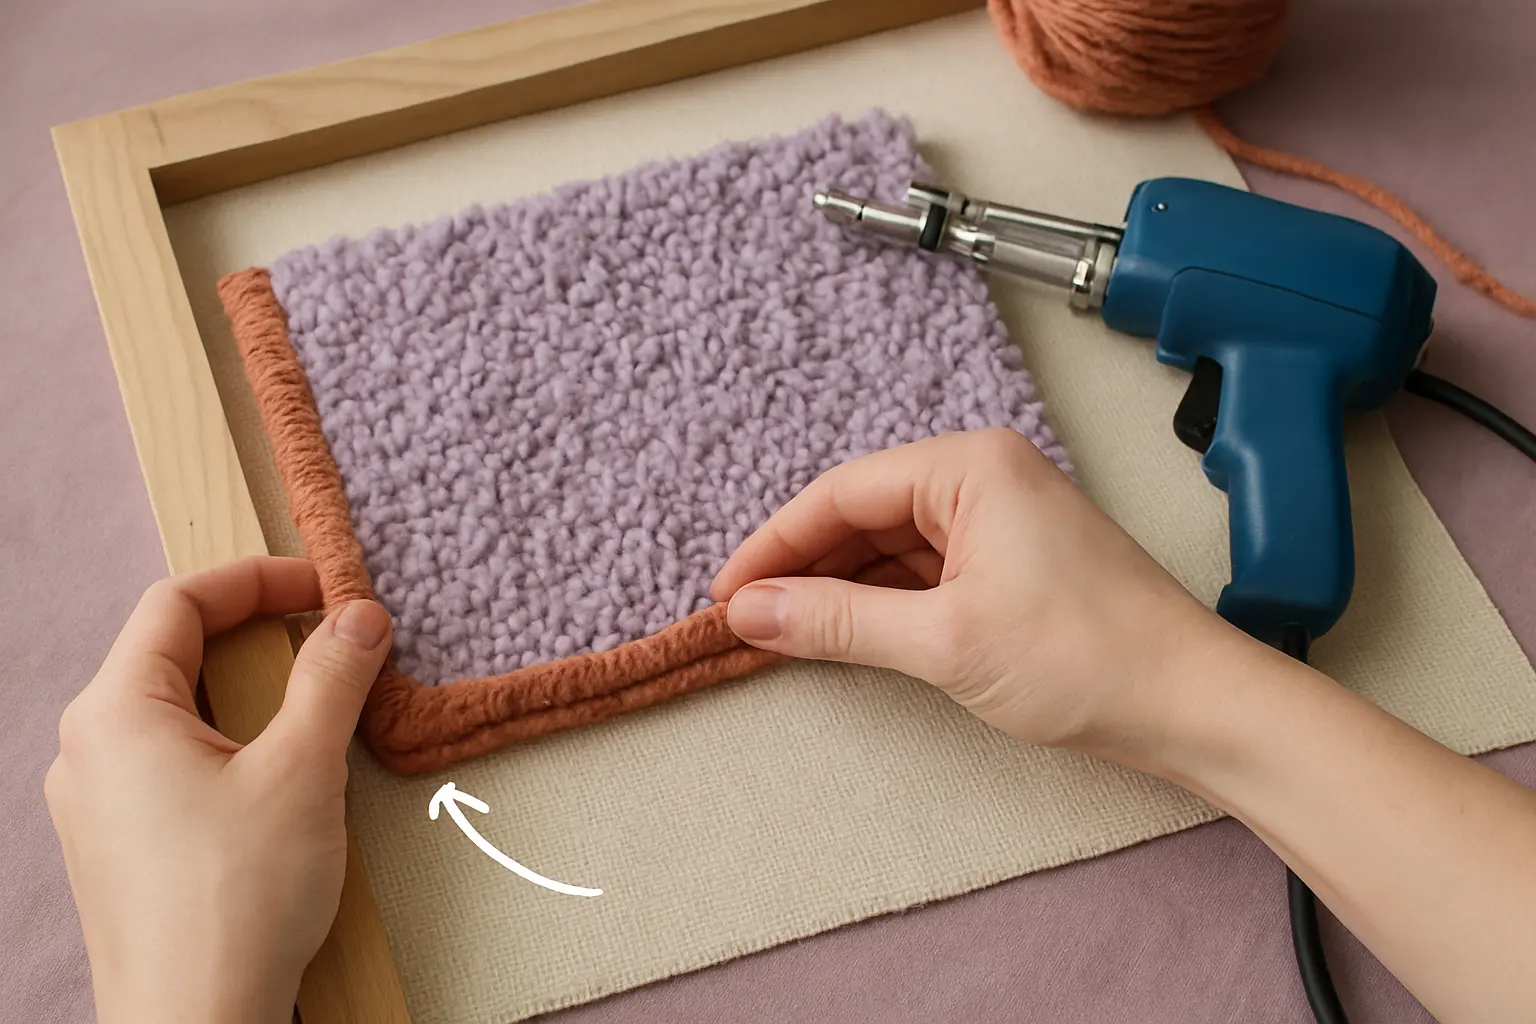
Work slowly so the edge treatment stays on the backing side rather than compressing the tufted face. Avoid heavy pulling at the corner points, and keep any visible border even so the rug does not pucker or wave along the perimeter.
Step 5: 5. Inspect corners, curves, and stress points carefully
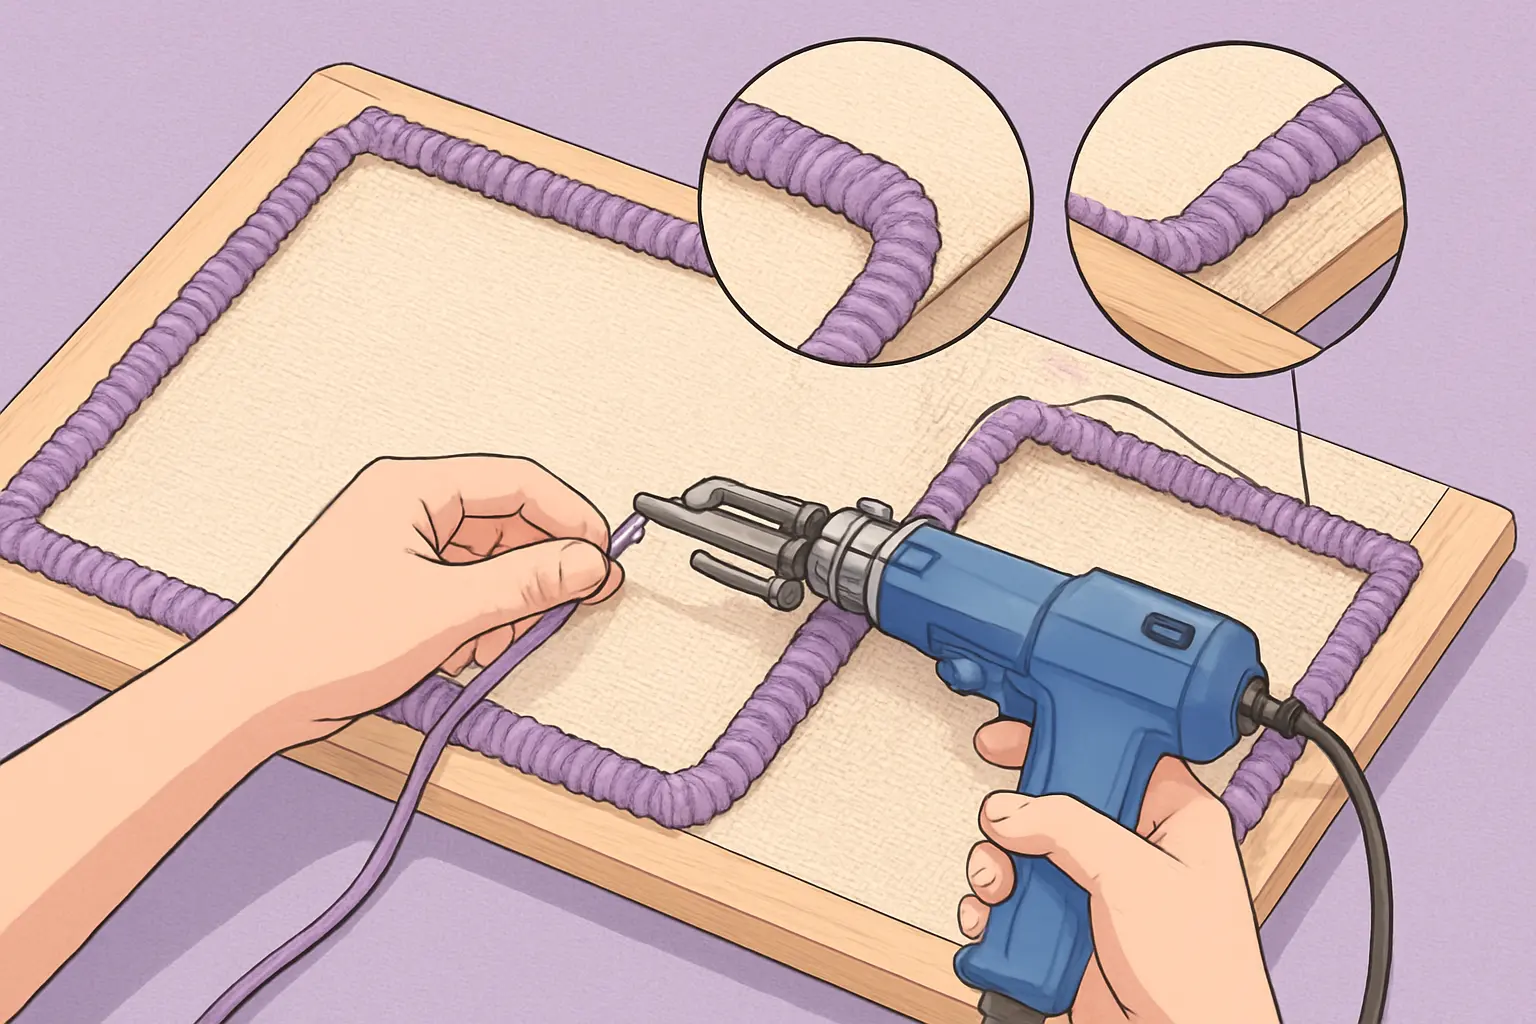
Check each corner and any curved section after the finish is attached. These are the places most likely to fray, lift, or wrinkle, so reinforce only as needed and keep the treatment consistent with the rug’s shape instead of forcing a square solution onto a rounded design.
Step 6: 6. Finish with a final perimeter check before use
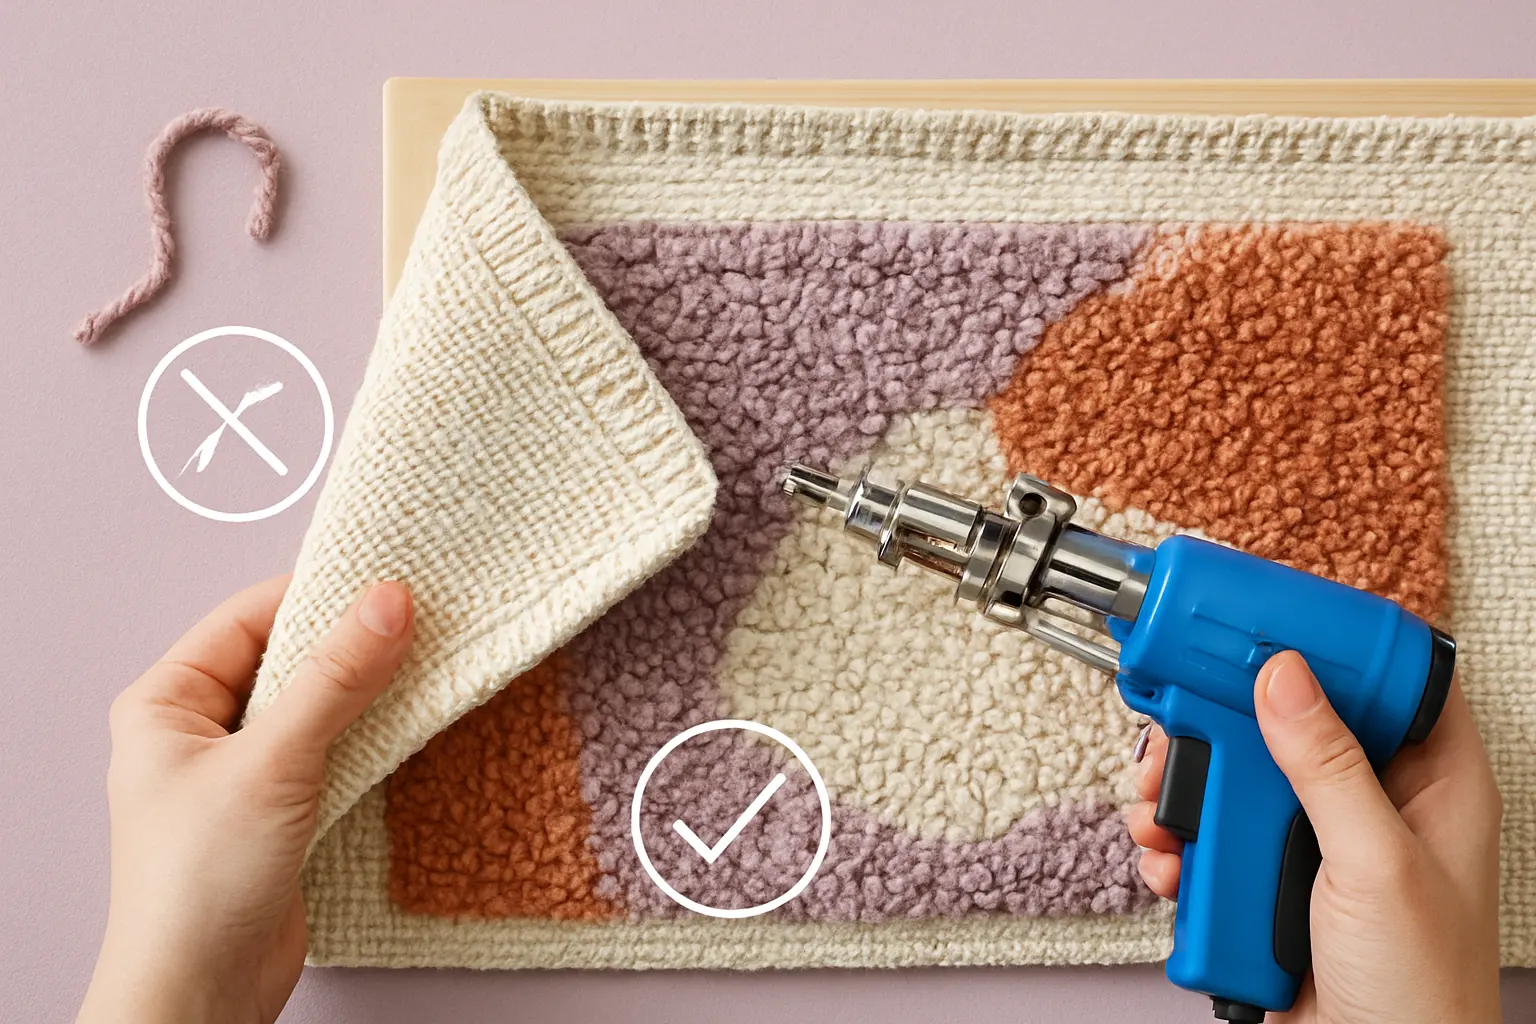
After the edge treatment is secure, inspect the underside for loose threads, exposed raw cloth, or adhesive squeeze-out that could catch dust or weaken the edge. For floor rugs, keep the final result low-profile and durable rather than decorative alone.
Sources and manuals
- Finishing Tufted Piecestufttheworld.com
- How To Finish A Tufted Rug Complete Guideca.tufttheworld.com
- Knowledge Baseca.tufttheworld.com
- The Tufting Gun Starting Guide Everything You Need To Create Rugs At Hometuftingeurope.com
- Backing Clothstuftingeurope.com
- The Ultimate Guide To Finish Your Hand Tufted Rugstuftingshop.com
- Secondary Backing Canvas And Glue Copytuftingshop.com
- What S The Best Way To Attach My Cloth To The Frametufttheworld.com